TinyISP Tuner Assembly
The TinyISP-Tuner comes in a kit that requires some through-hole soldering.
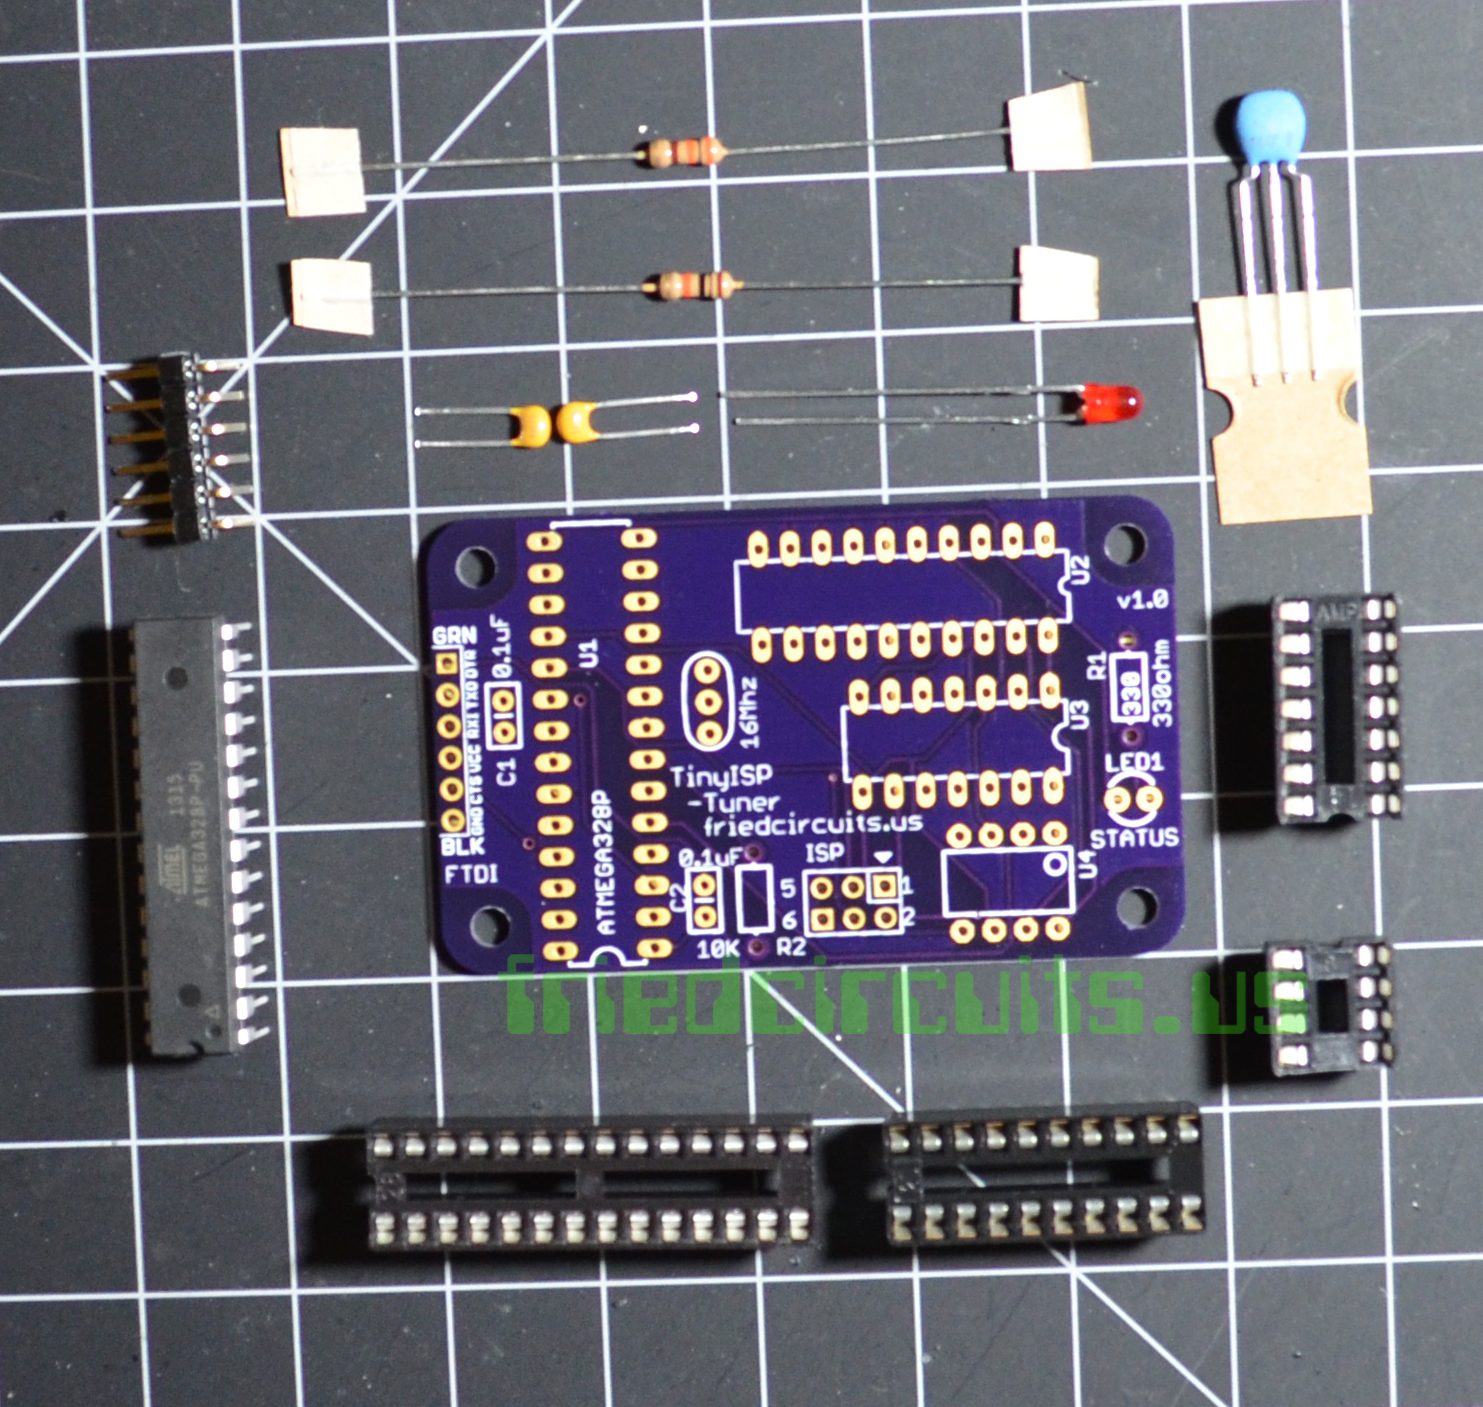
Included: - 1x PCB
- 1x ATmega328p-pu DIP
- 1x 28pin Socket
- 1x 20pin Socket
- 1x 14pin Socket
- 1x 8pin Socket
- 1x 16Mhz Resonator
- 1x 10K Ohm Resistor
- 1x 330 Ohm Resistor
- 2x 0.1 Cap
- 1x 3mm Red LED
- 1x 6pin Right Angle Male Header
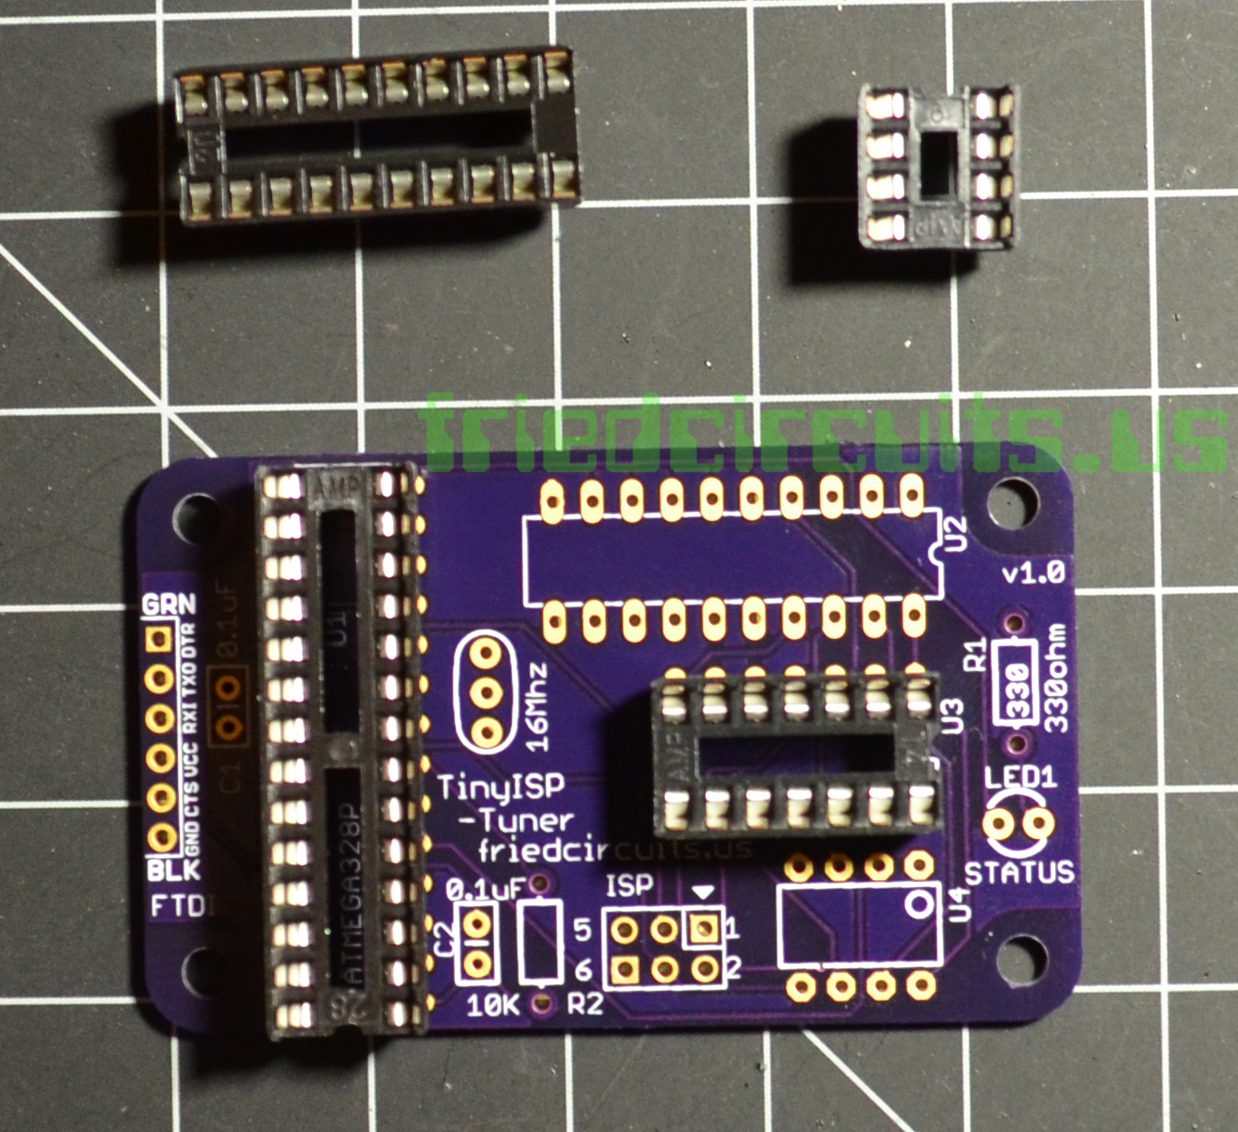
Soldering Sockets Insert the 28pin (notch toward bottom by 10k resistor) and 14 pin socket ( notch toward the rear of the device where the LED will go) and flip it over. This makes it lie flat so you can solder. I usually solder the middle pins to hold it place and it keep it level.
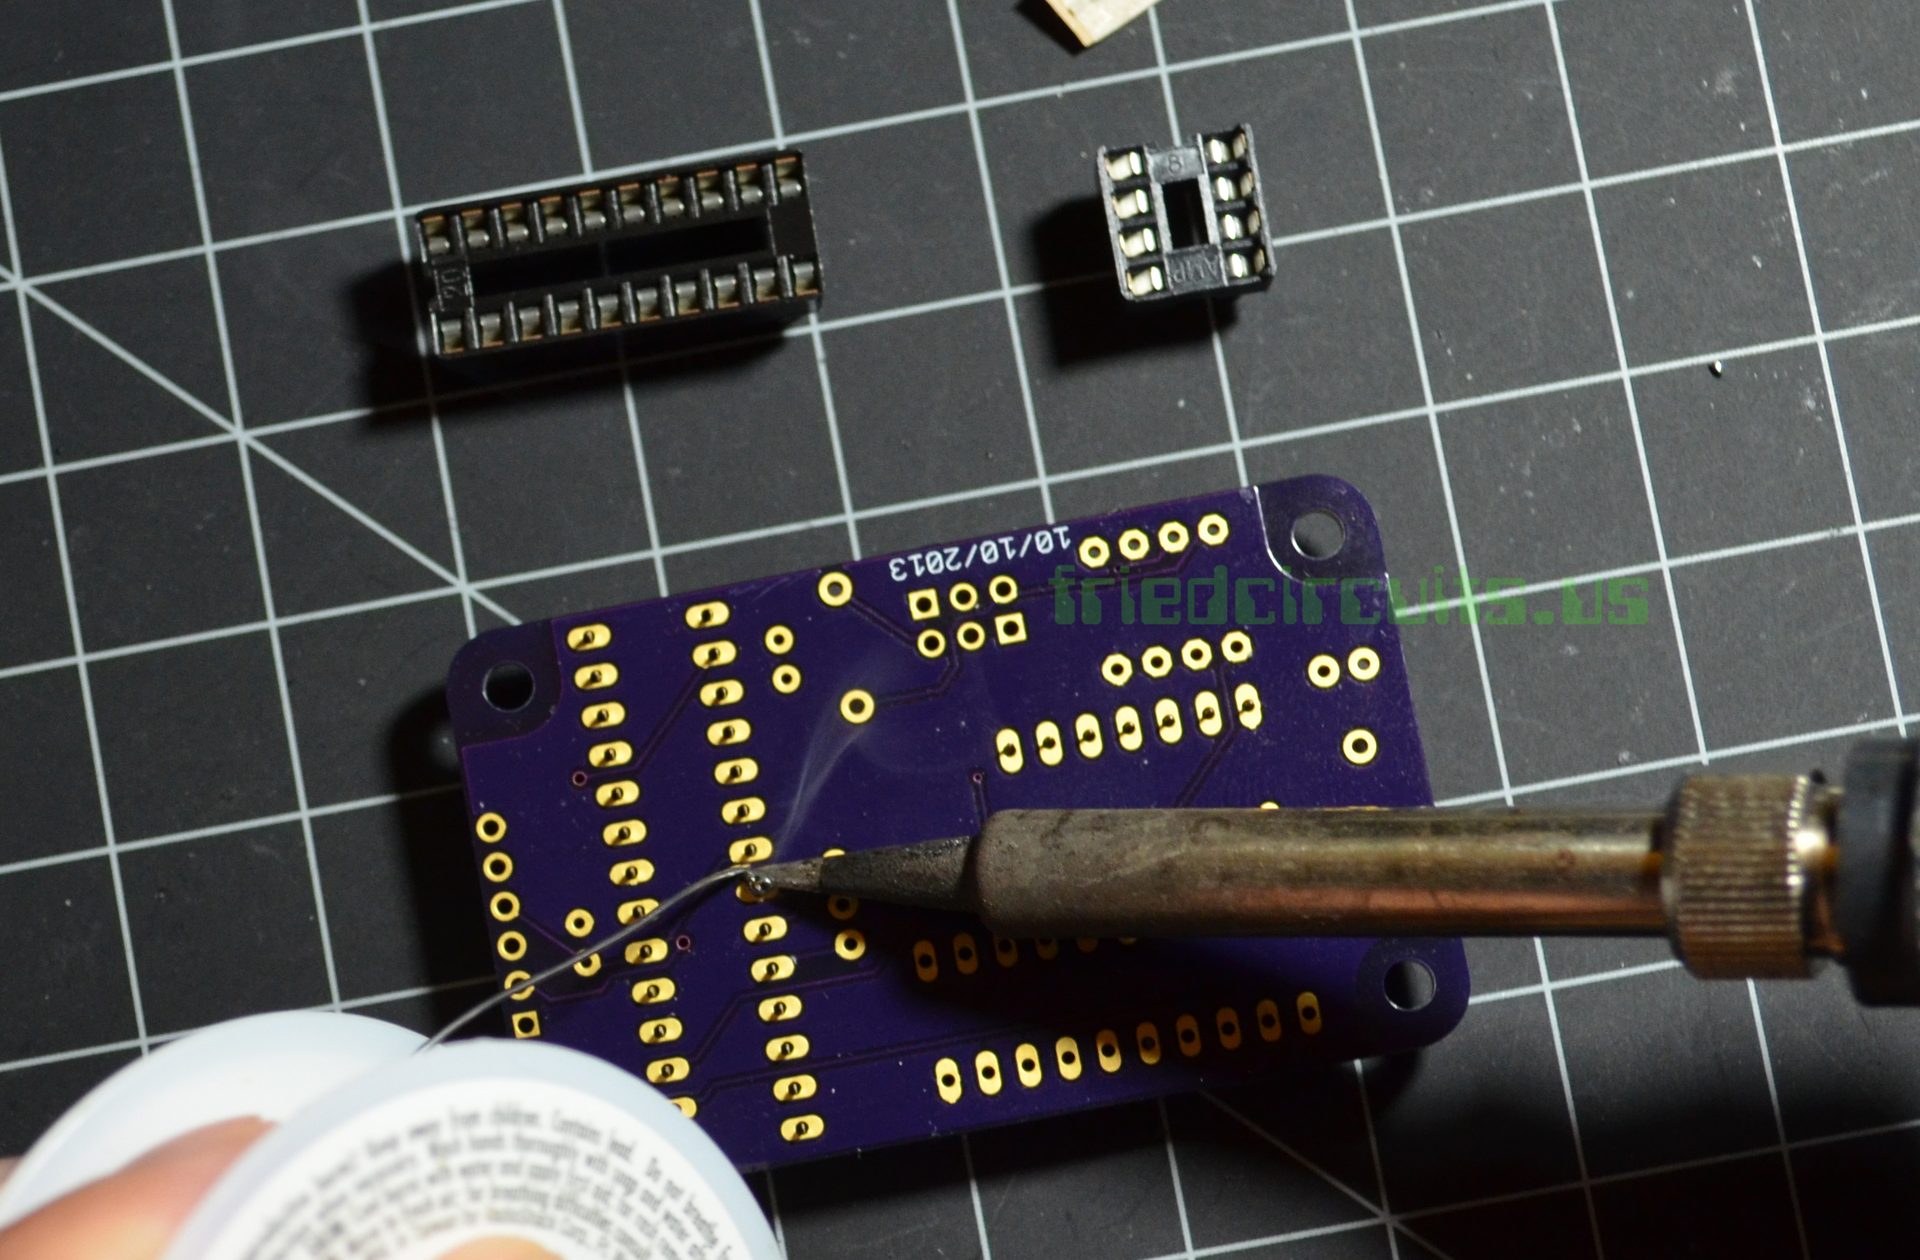
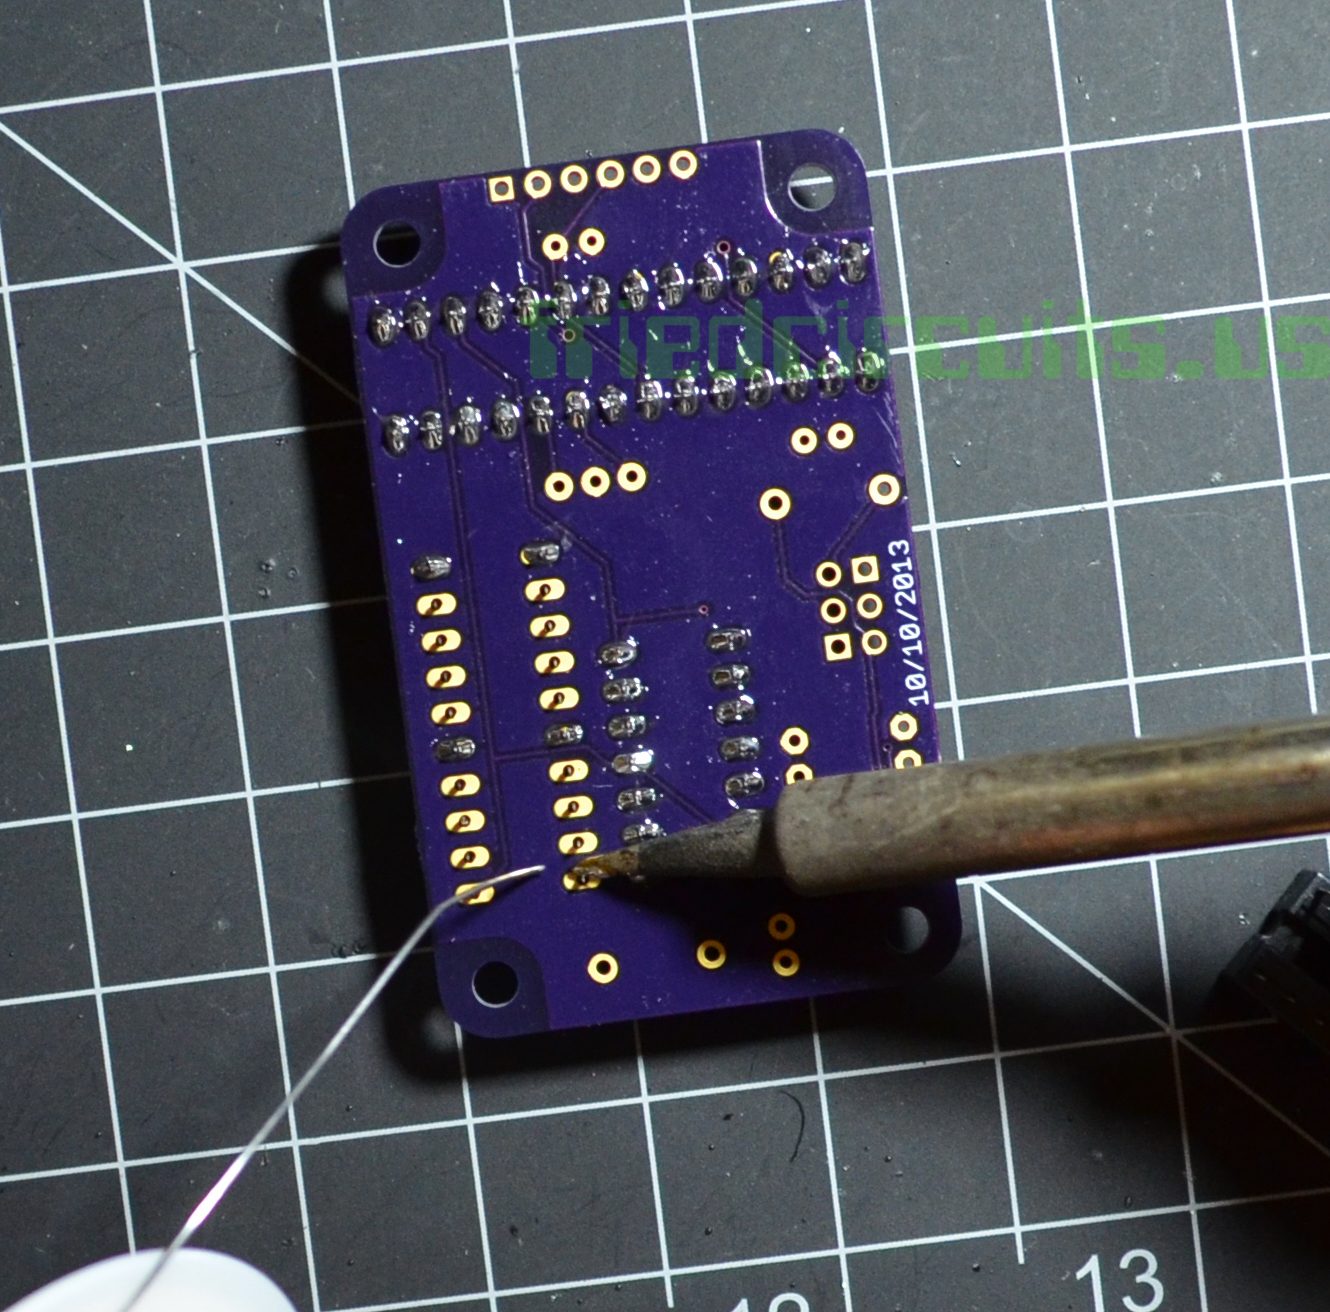
Once complete insert each of the other sockets and solder all the pins
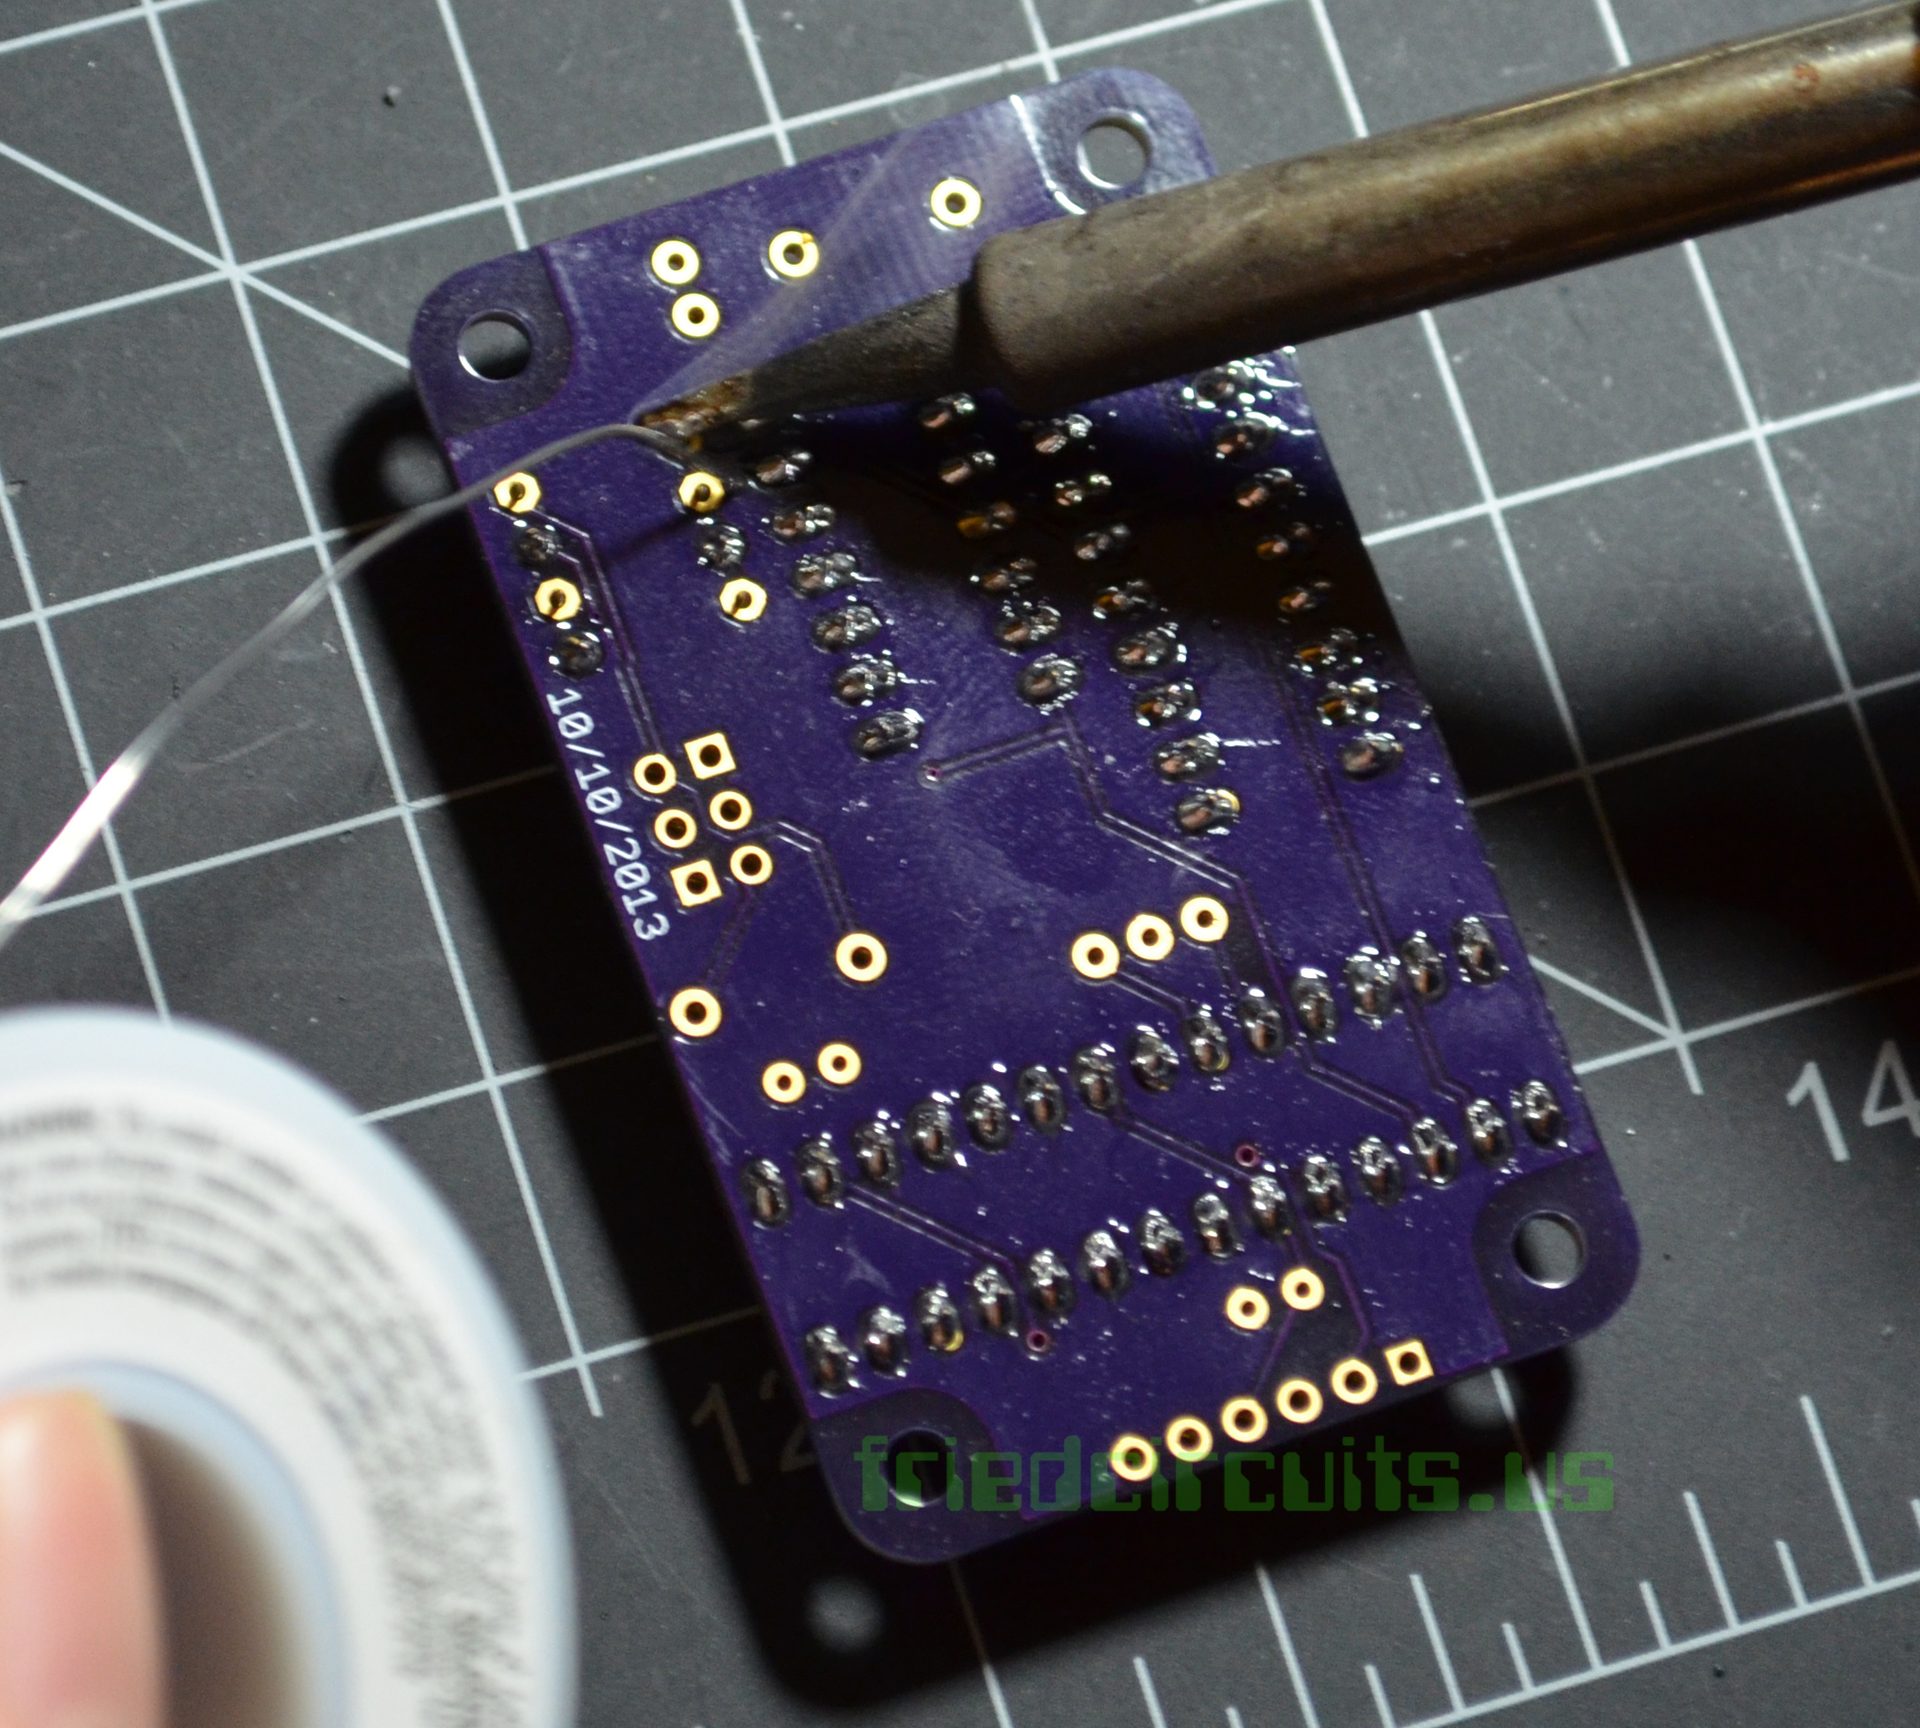
Soldering passive parts: These parts can be inserted either way. Insert caps and then bend the legs out a little so they don’t fall out when you flip it over to solder.
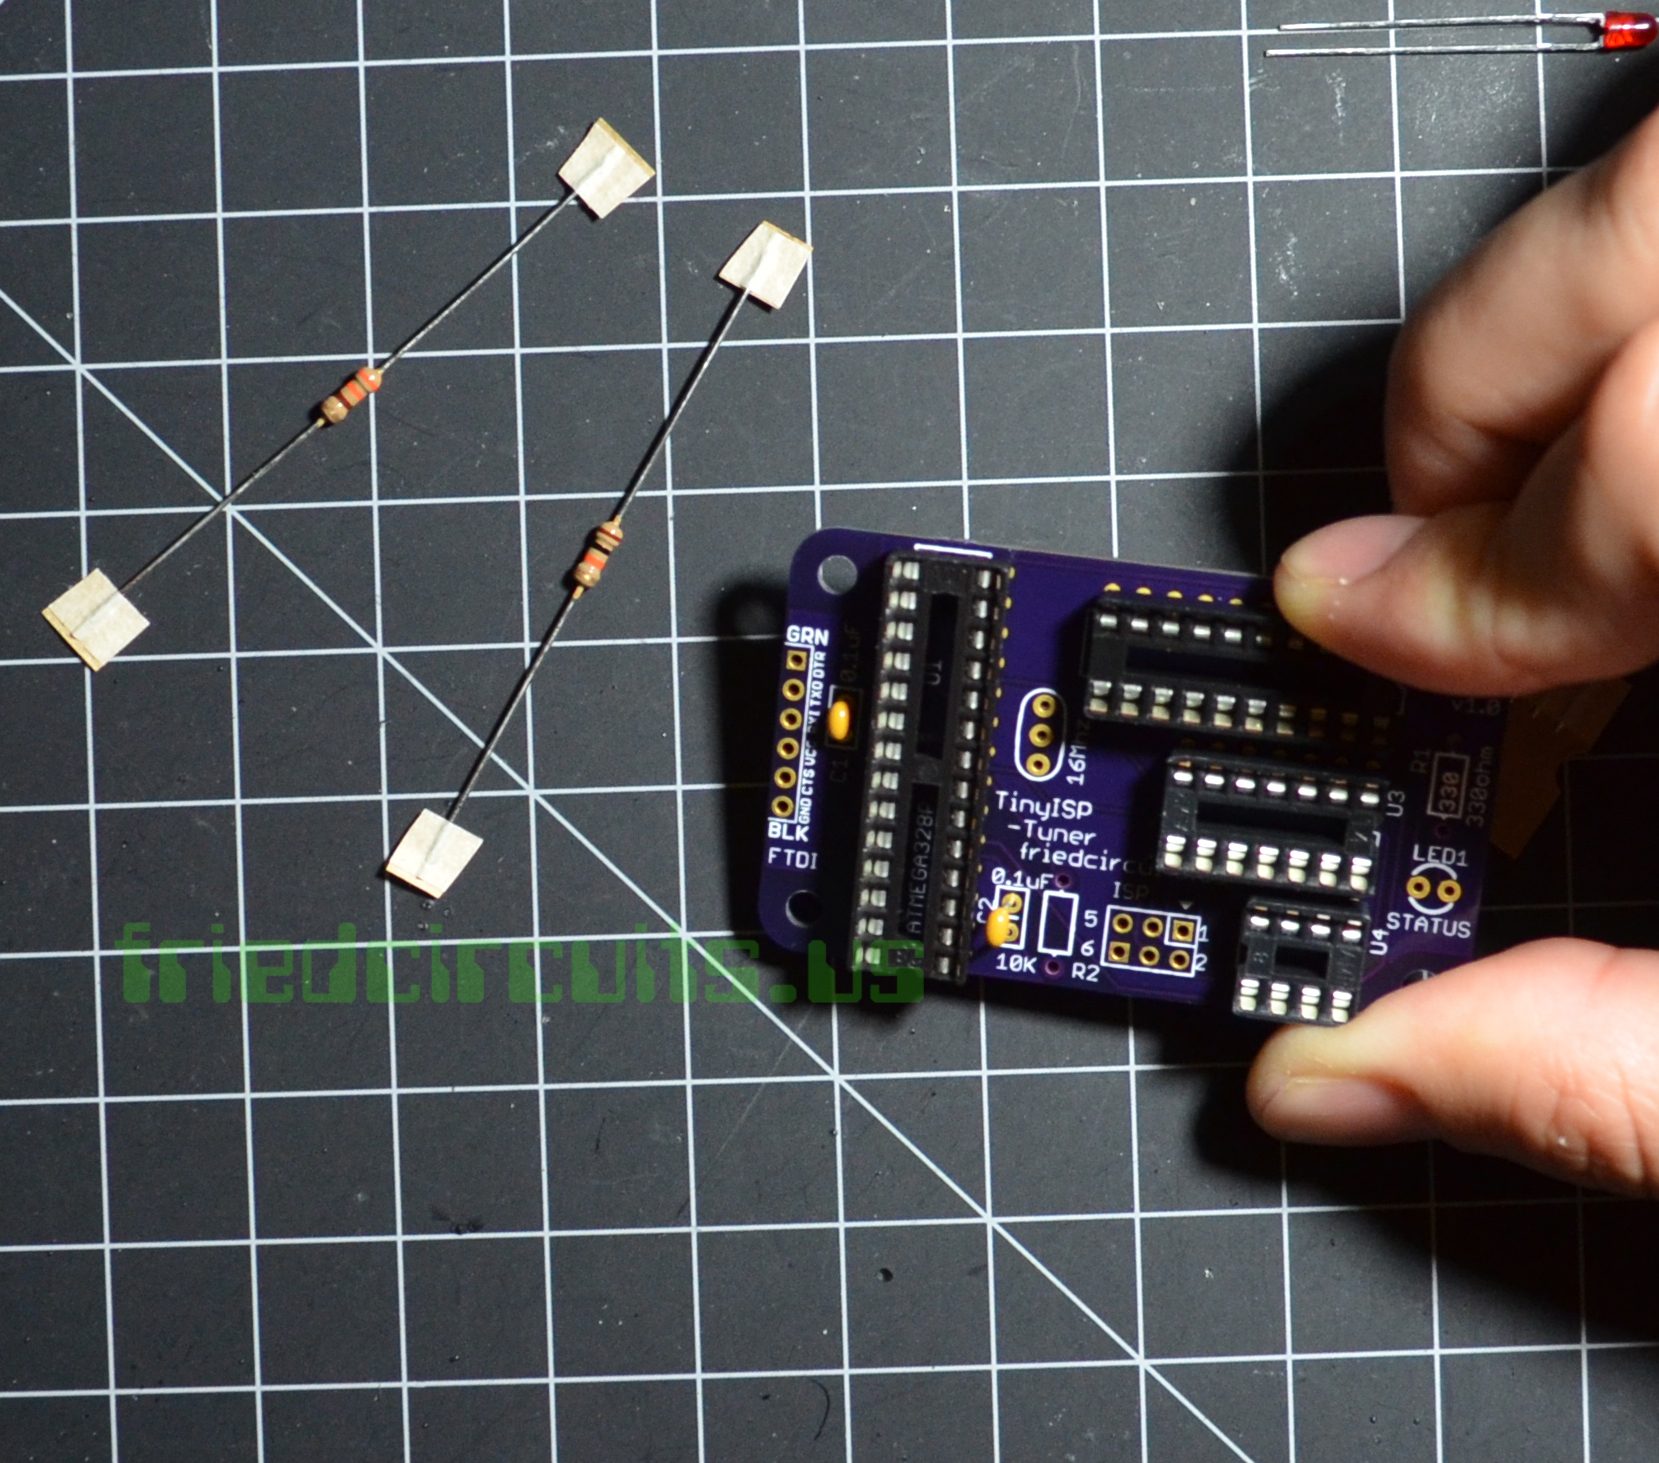
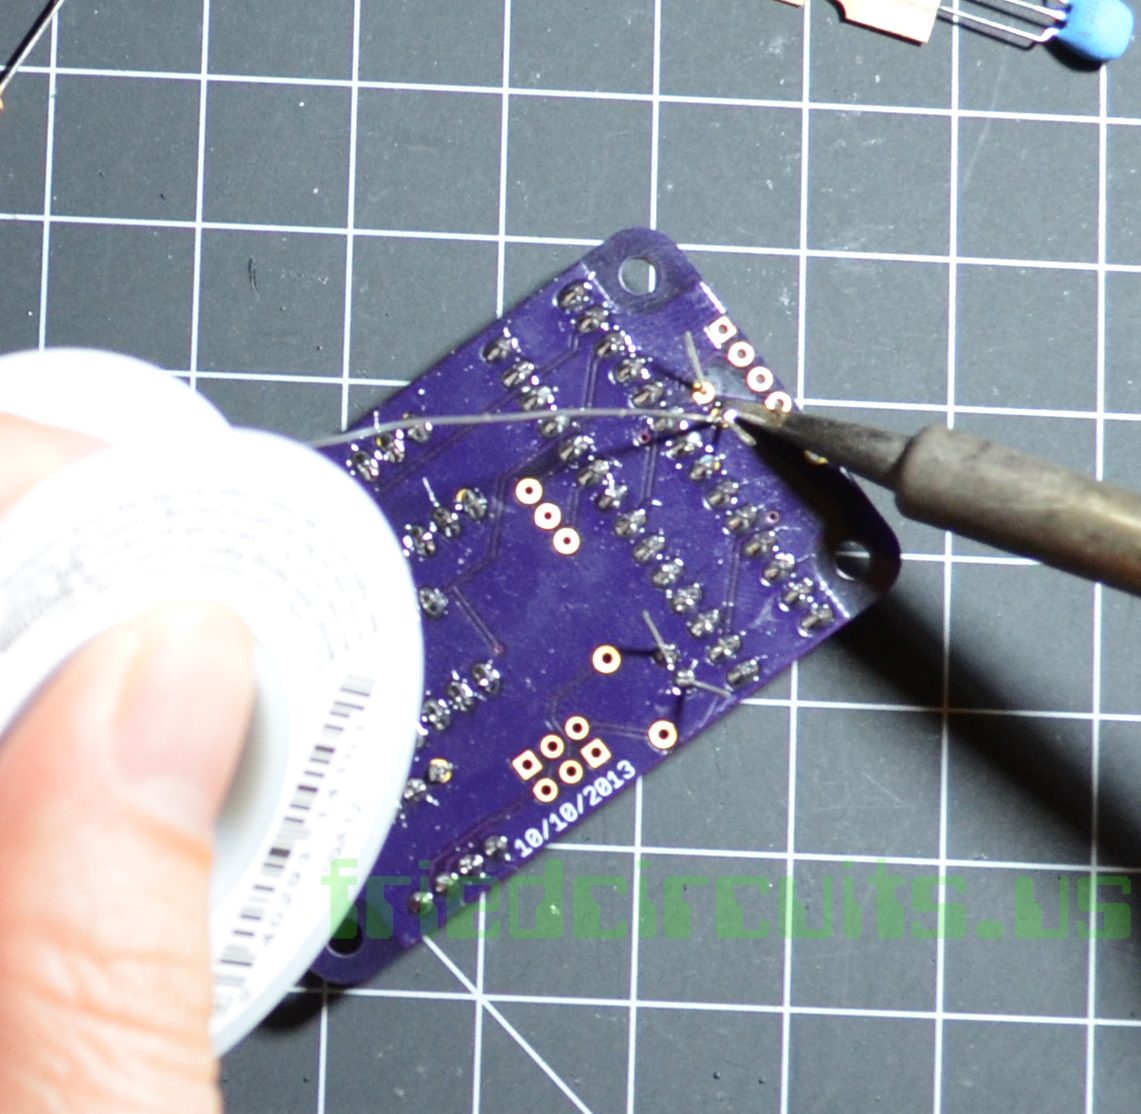
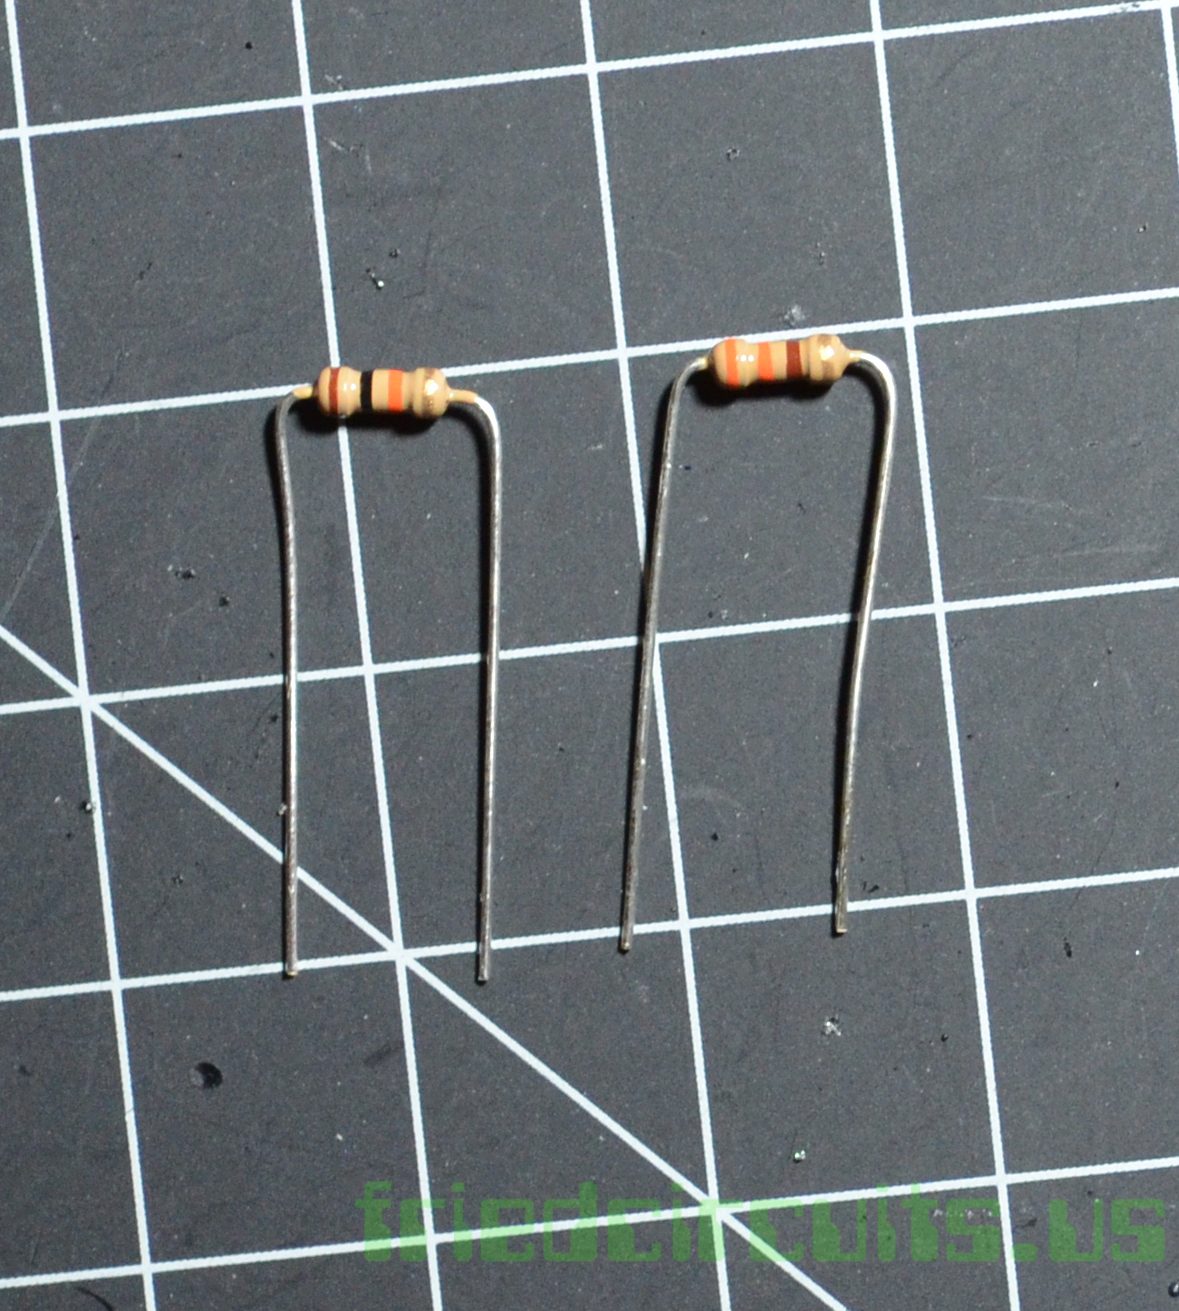
Take each resistor and bend the legs into a U shaped and then do the same as the capacitors.
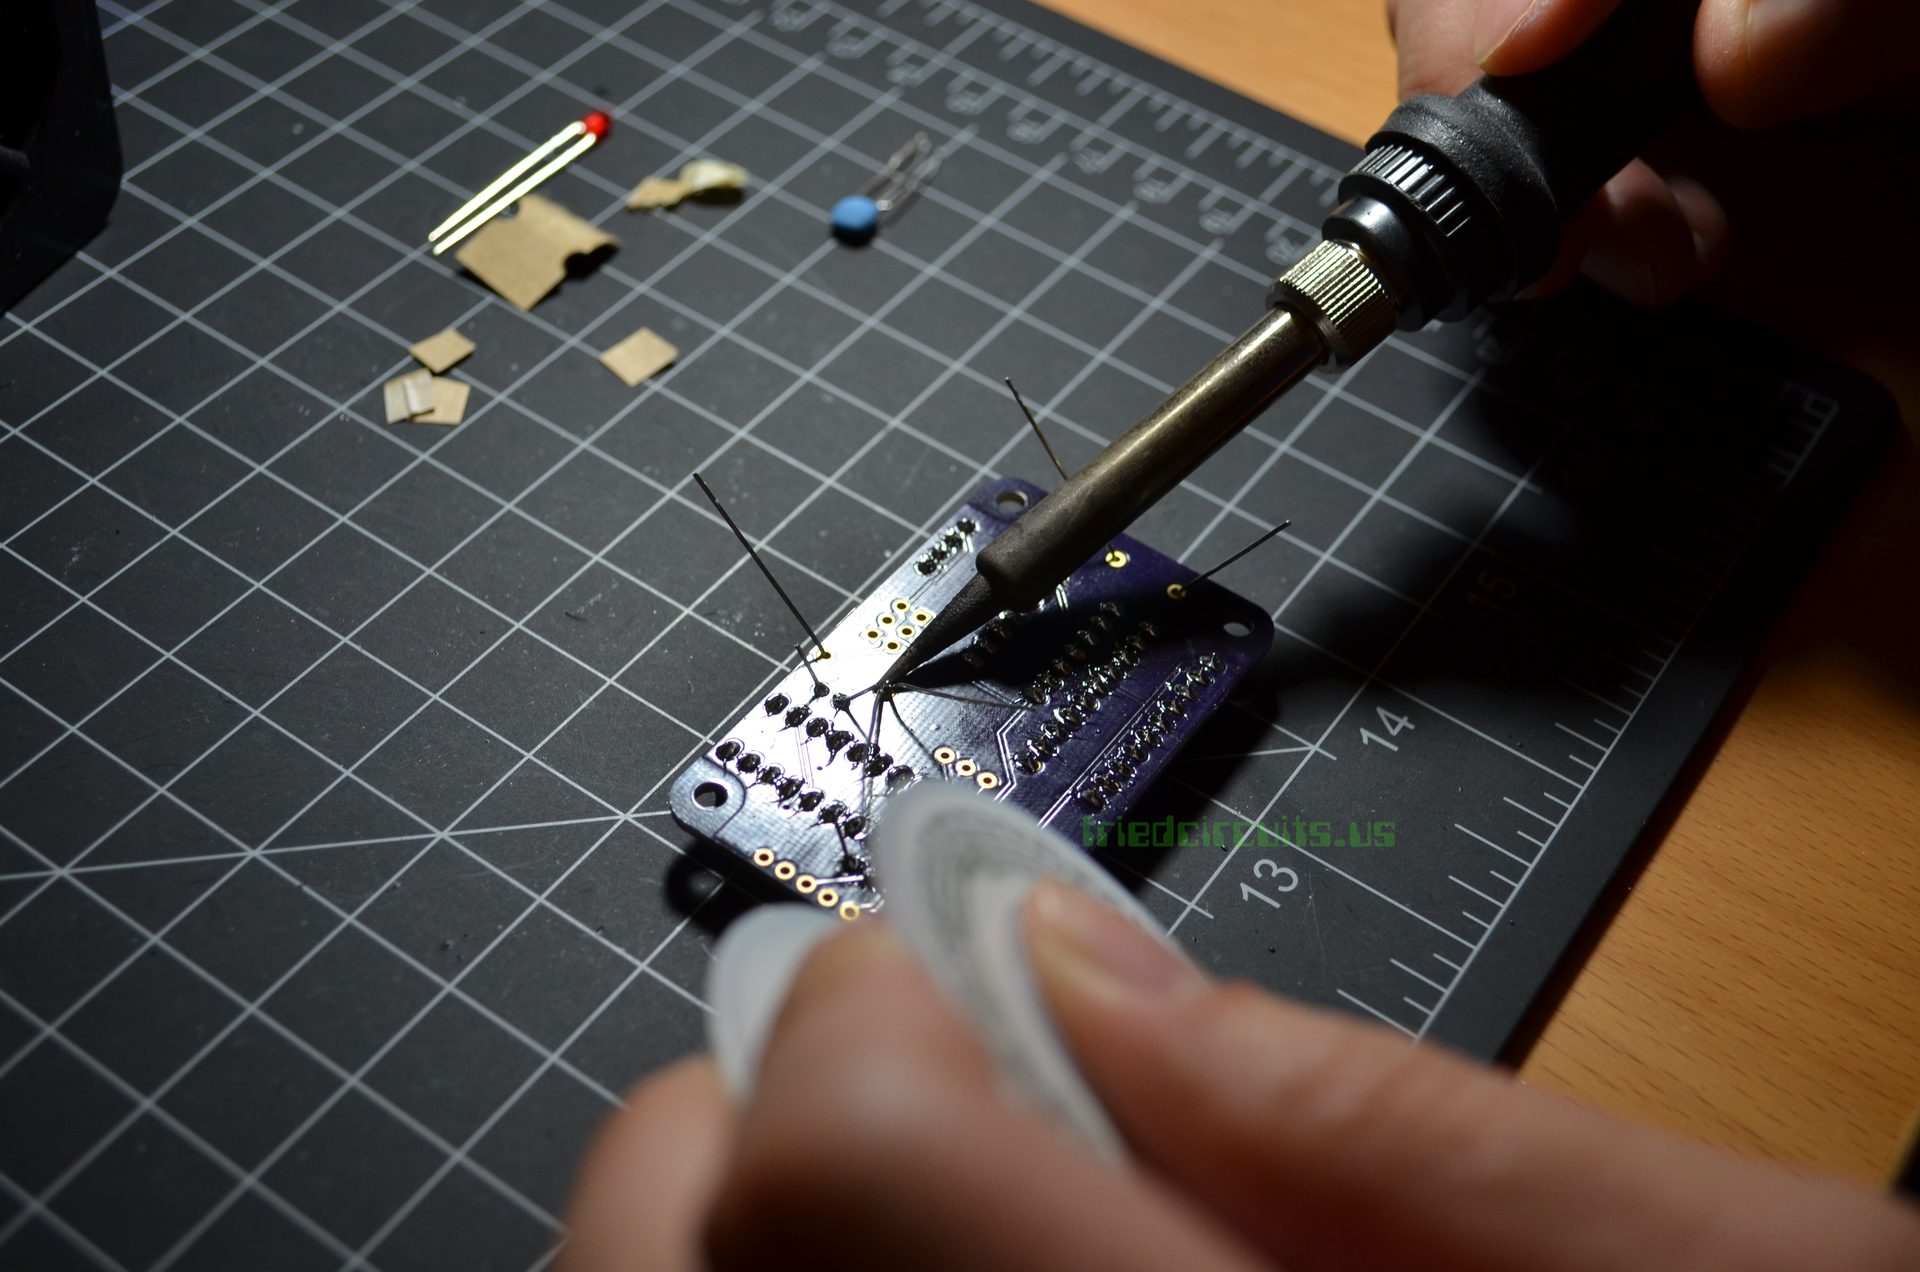
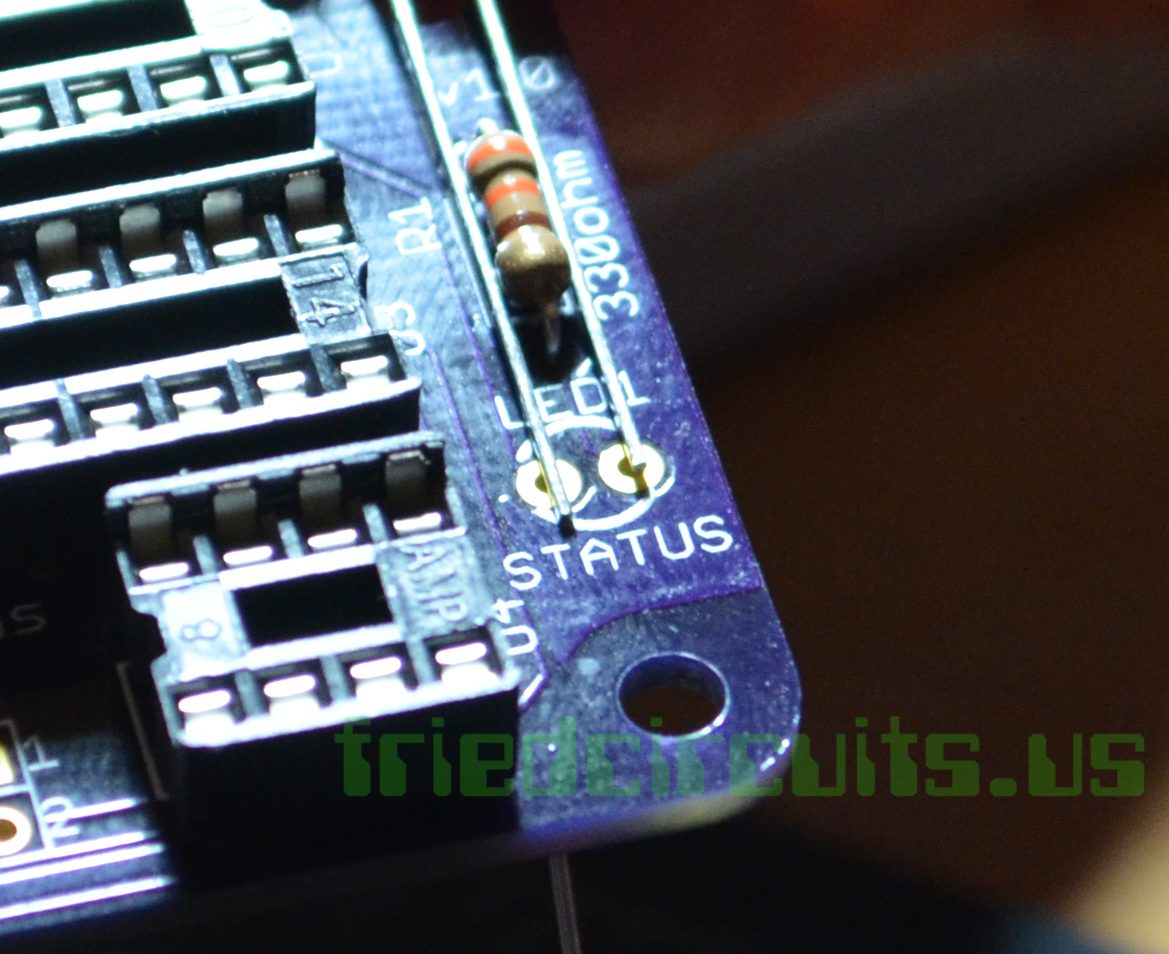
Soldering LED: Make sure the long leg of the LED is closer to the sockets and then insert and bend the pins to solder.
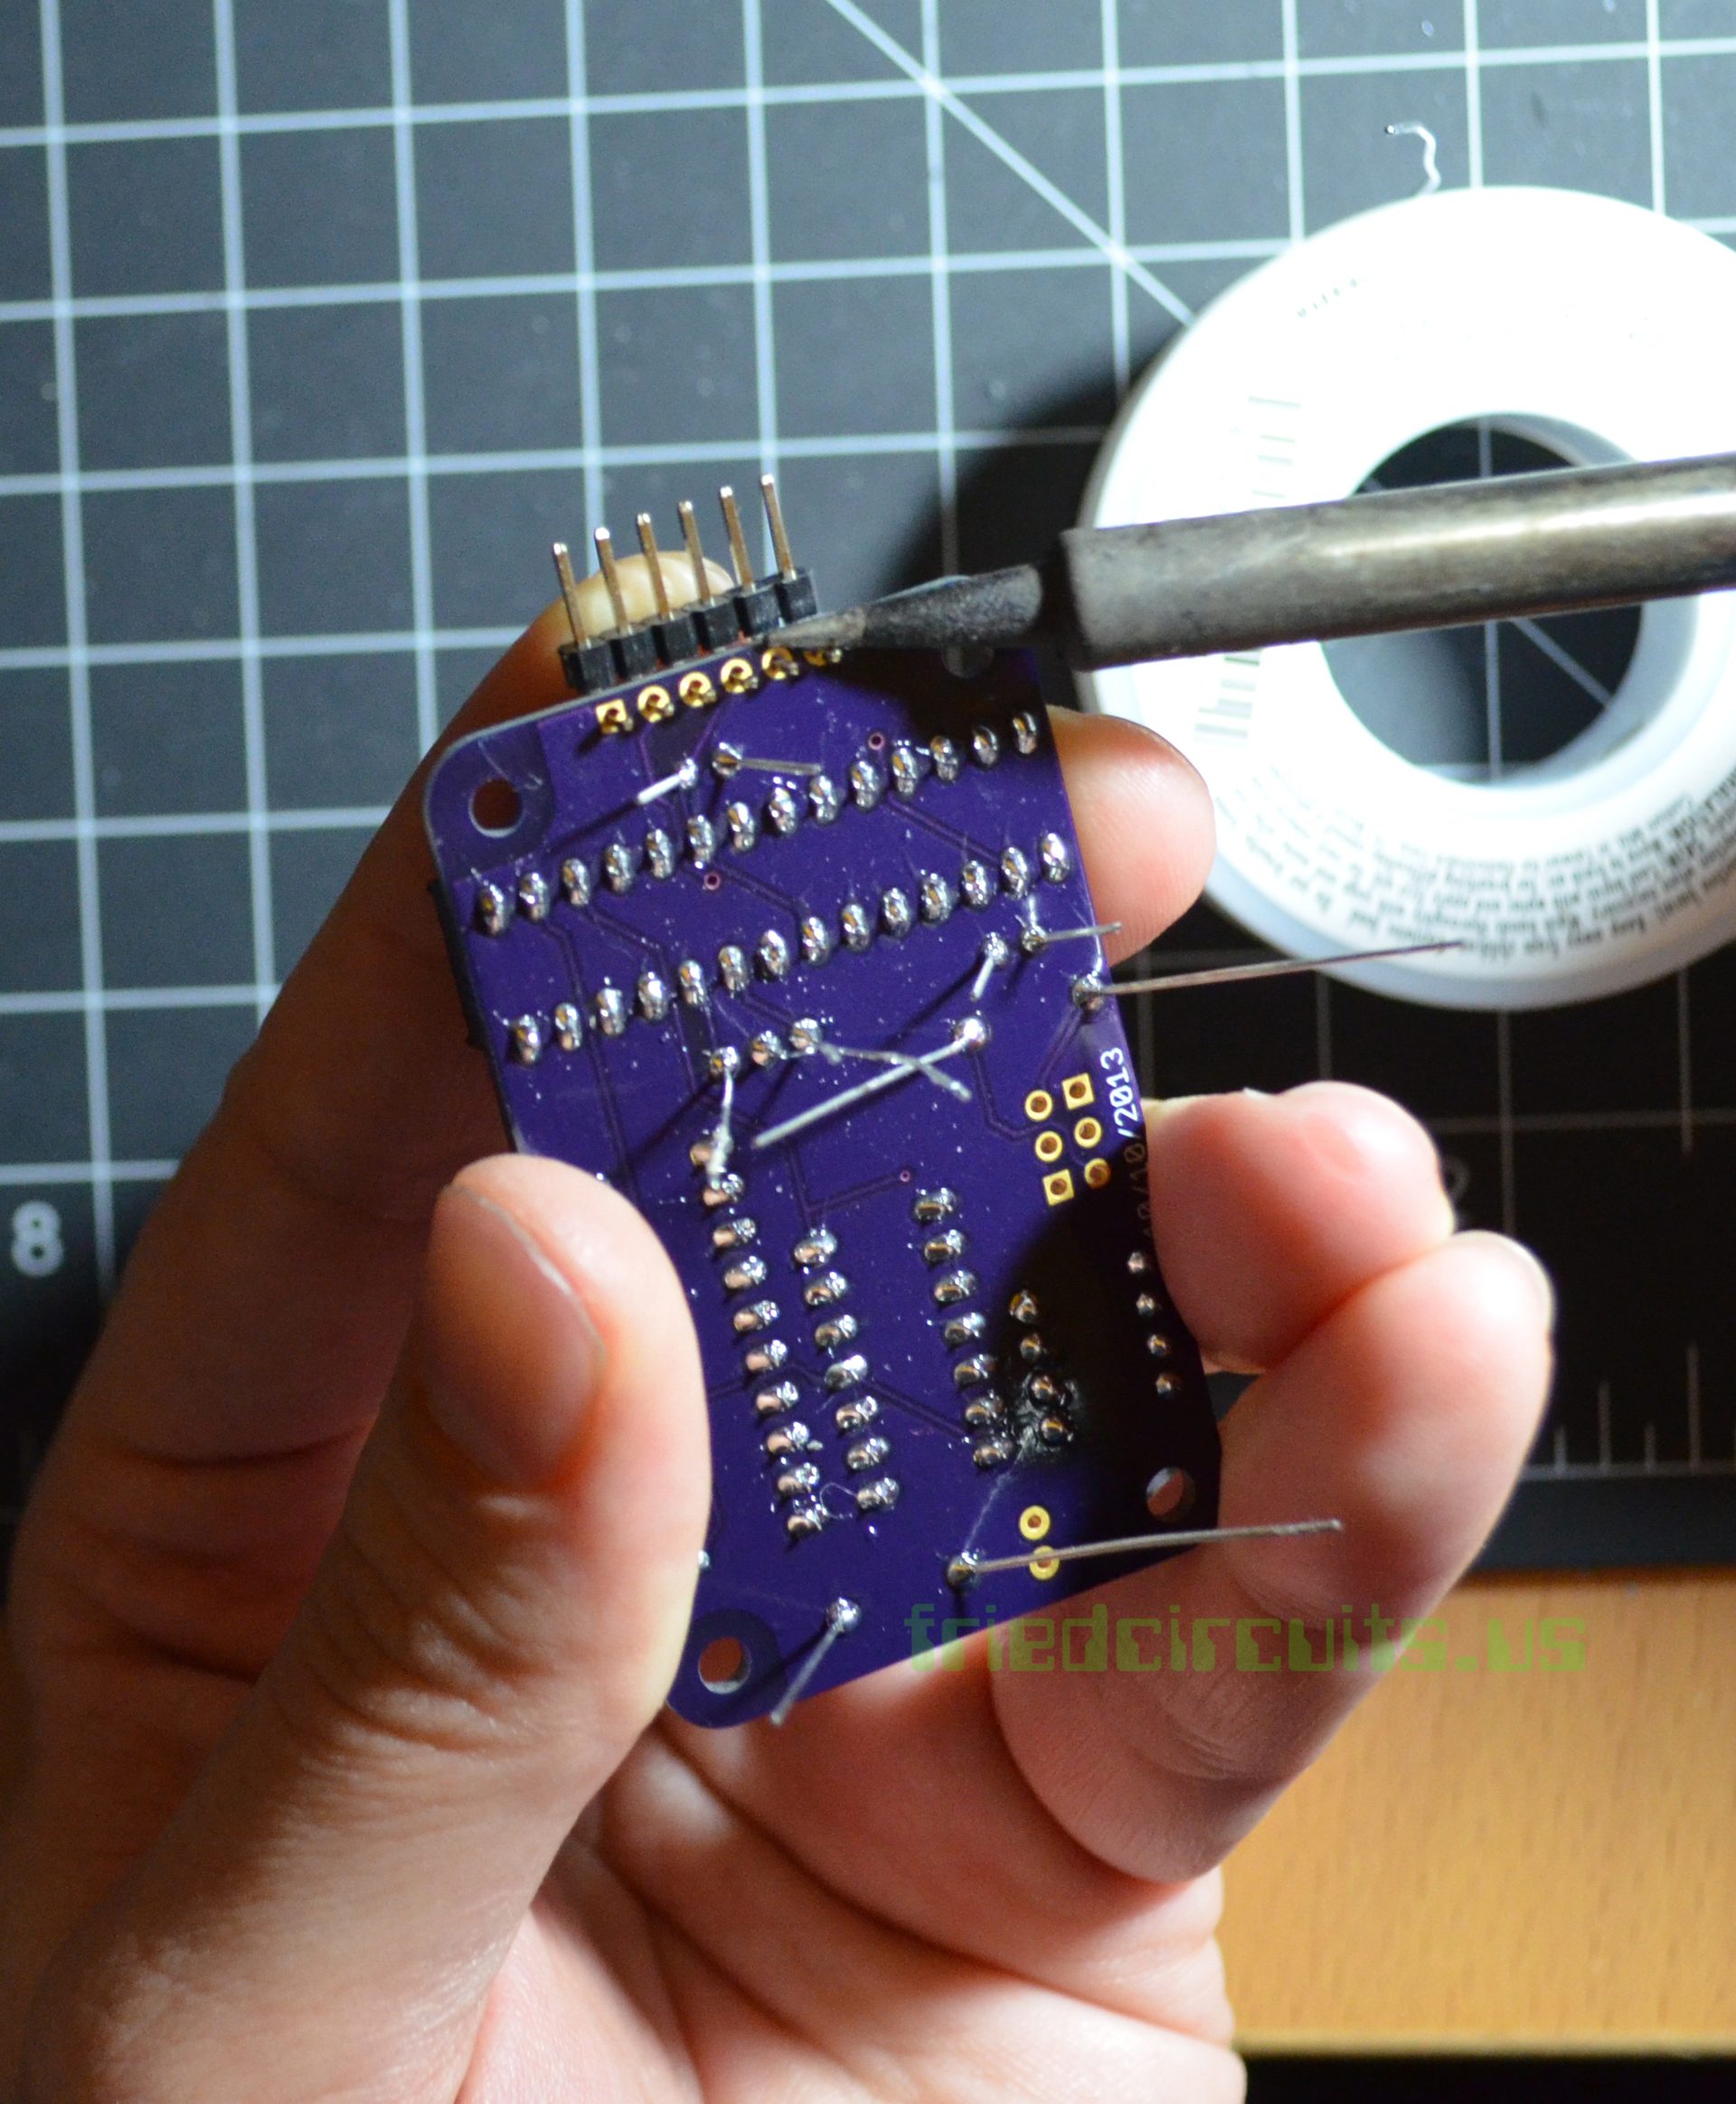
Soldering Resonator: The resonator can be inserted either way. Bend the legs to either side and solder. Soldering FTDI header: This one can be a little tricky since it isn’t completely on the PCB. Easiest way is to hold one side with your finger and with solder on the tip of your iron tack down one pin. Be careful it isn’t the same side you are holding. Then you can set it down and solder the rest. Just double check it is properly aligned to your liking.
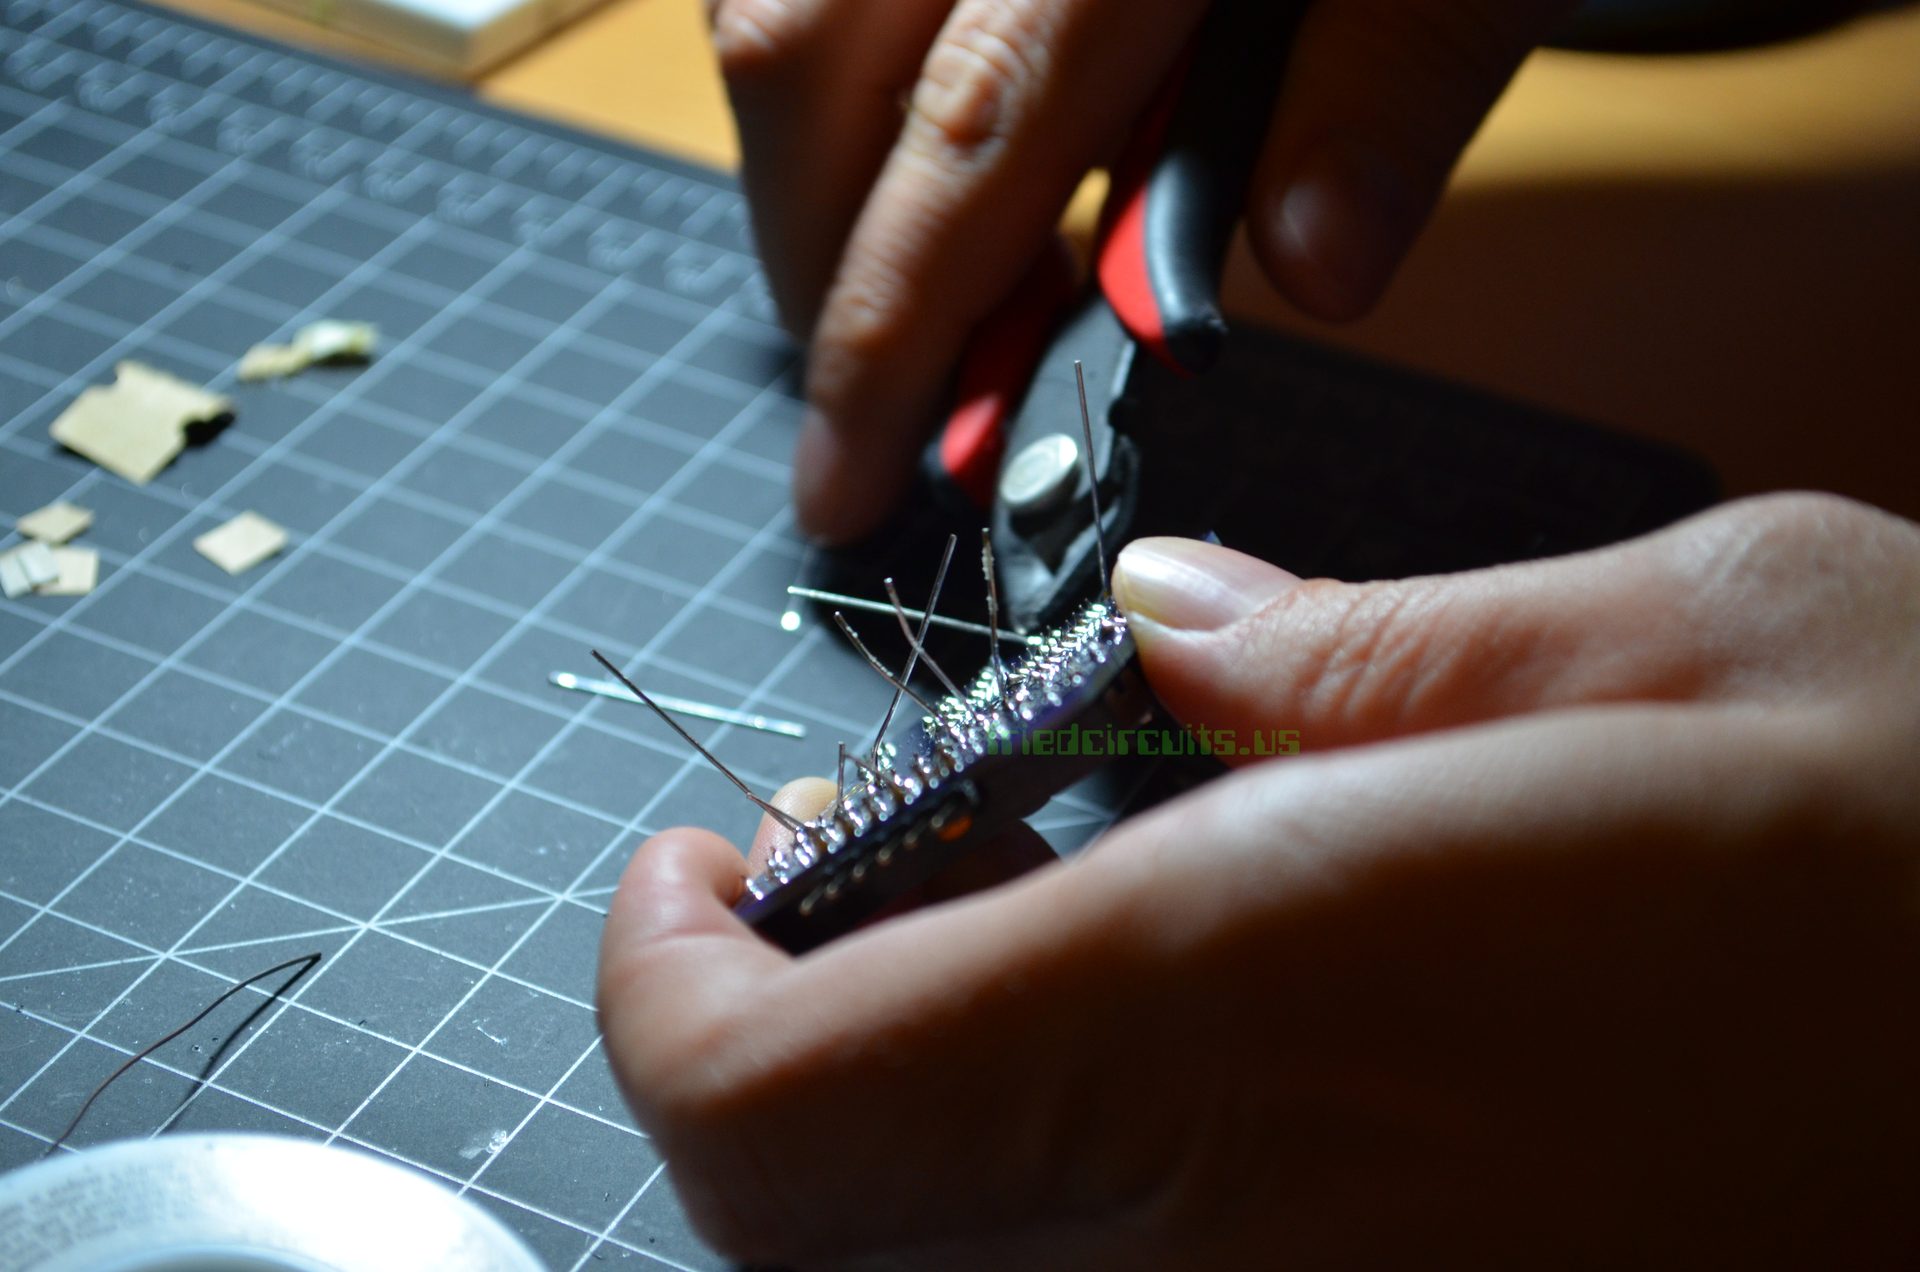
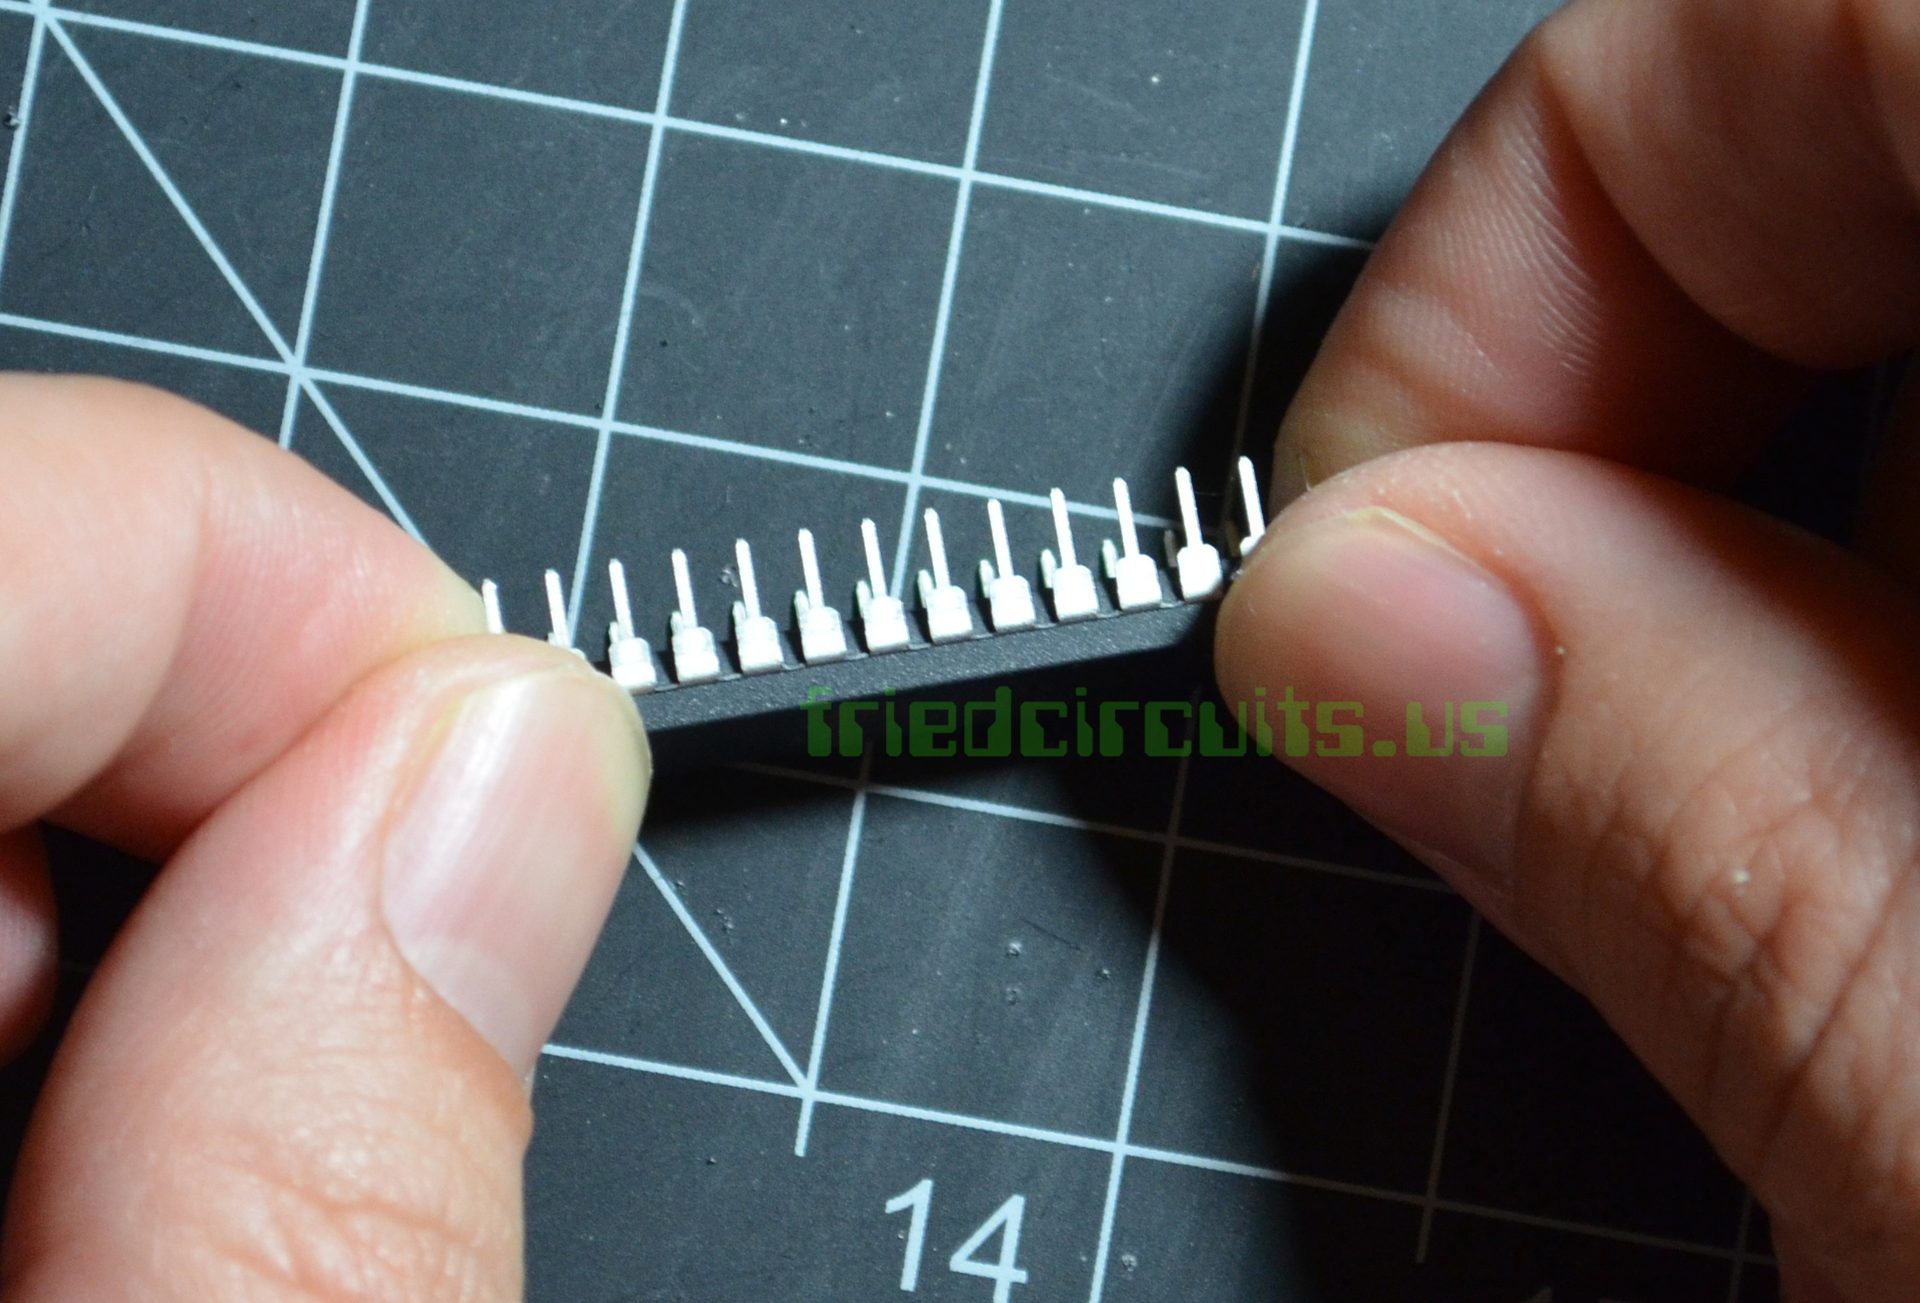
Inserting ATmega328p: Finally you can insert the ATmega328p. Make sure you bend the pins in a bit and that the notch is lined up with the notch in the socket.
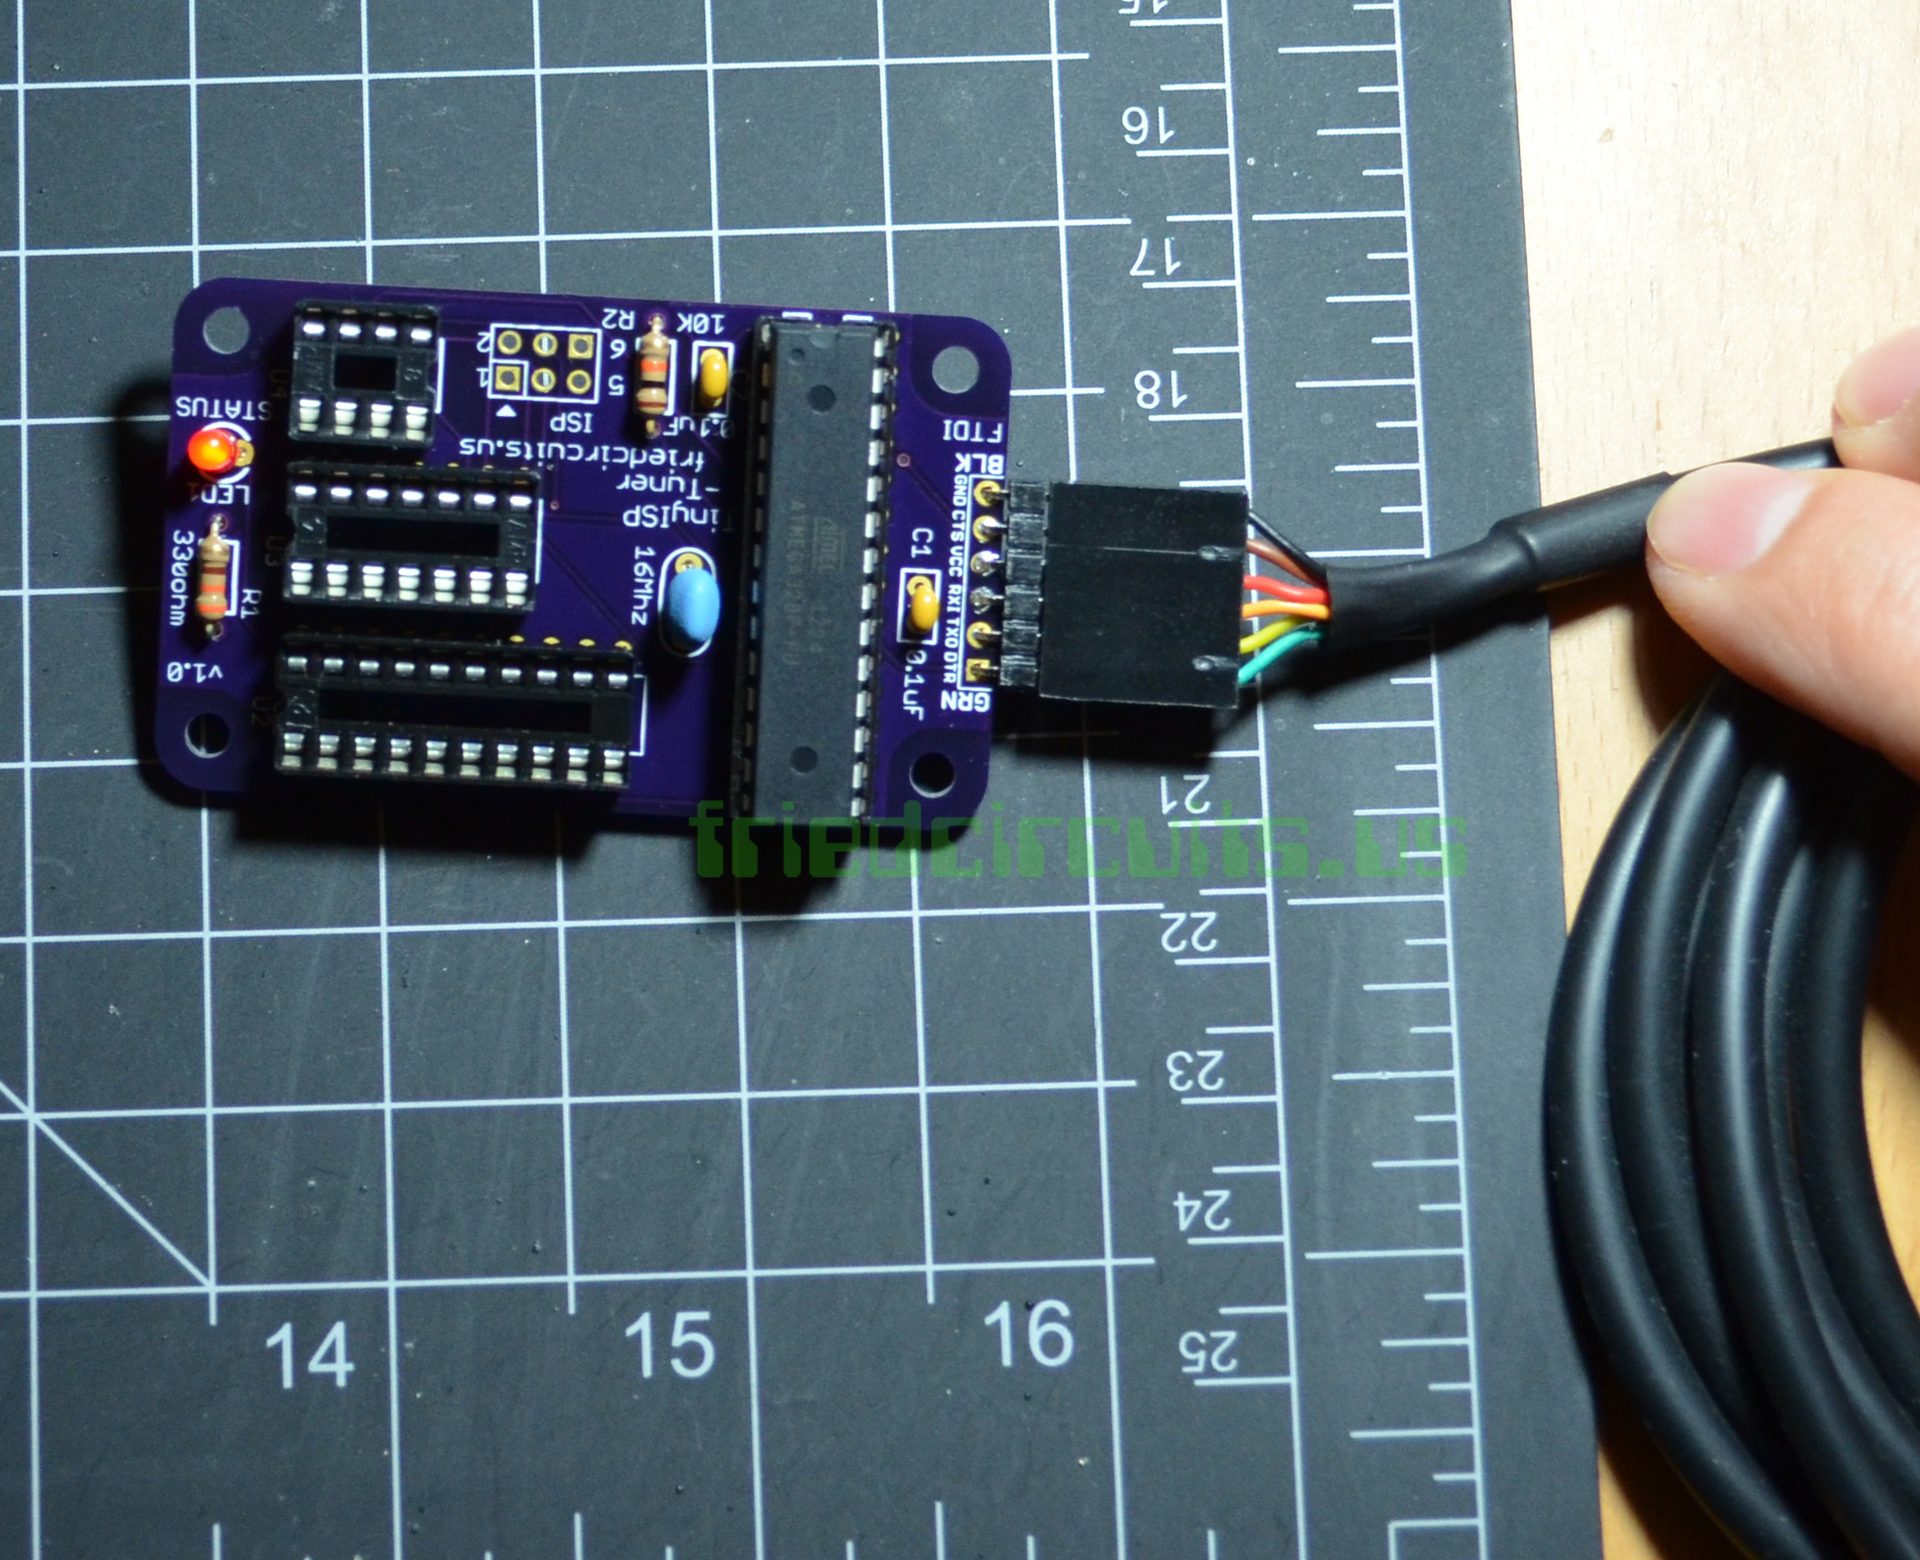
Testing: To make sure everything it working you can plug your FTDI cable lining the Black wire (Ground) with the label BLK toward the bottom. You should see the RED Led dimly lit. If not check all your solder points and the polarity of the LED as well as the ATMega328p.
Support: If you need help or have problems contact support at support@friedcircuits.us. Usage: Now you you are ready to use: /tinyisp-tuner/