There are two ways to update the firmware on the USB Tester OLED Backpack.
- Wizkers.io – Easy to use and requires the Chrome browser. (currently a bug prevents this from working on Windows.)
- Arduino IDE – Allows you to make your own code tweaks
Wizkers.io
- Download the app from the Chrome web store.
- Launch app and add the USB Tester under the instruments tab. At this point the USB Tester should be connected to the computer.
- Select FriedCircuits OLED Backpack from the list and configure the correct port.
- Click save and then click settings on the top right.
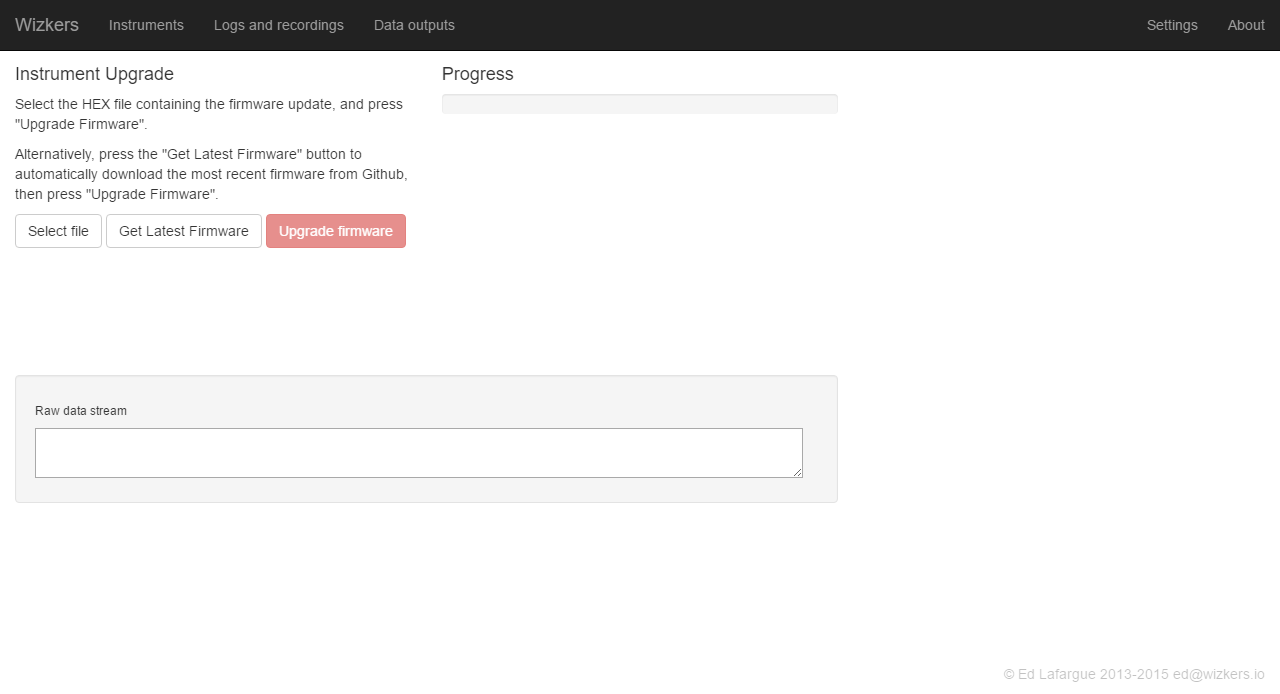
- Select upgrade firmware.
- Use get latest to download the current release. If you are trying out a beta release please down the HEX file manually and click select file.
- Finally click upgrade firmware to flash the device.
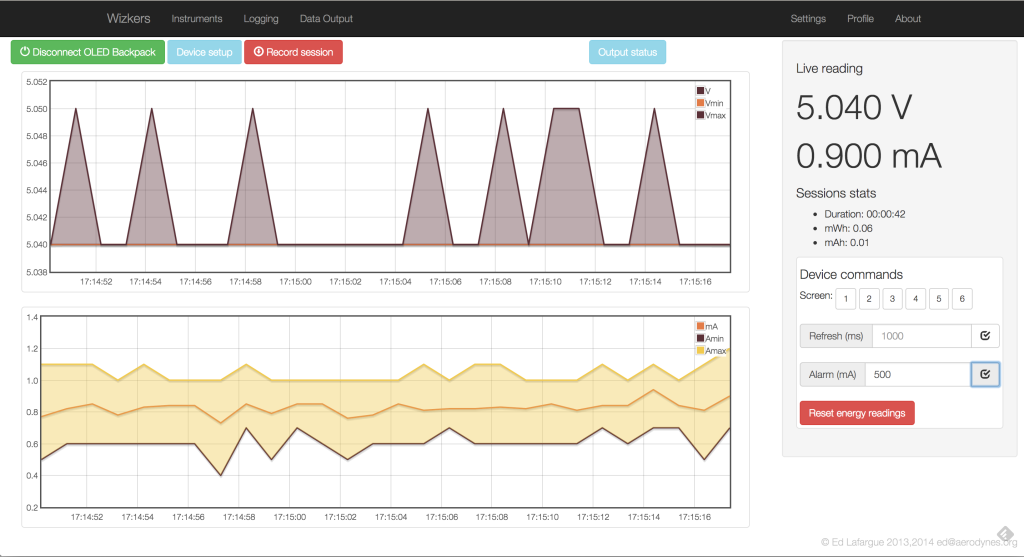
Arduino IDE
Preparation
- Arduino IDE from www.arduino.cc
- OLED Firmware from Github.com
- Download the OLED_Working_Package-v2.zip (v2.x hw)
- To download the beta firmware download the entire repo using the green clone/download button.
Extract it to your Arduino folder, which will extract the libraries and sketch to the correct place. You can overwrite the existing versions.
The libraries should be path\to\Arduino\libraries
and sketch: path\to\Arduino\projects\USB_Tester_OLED
If you need extra help installing the libraries you can look here: http://arduino.cc/en/Guide/Libraries
For beta firmware copy the sub folder labeled beta firmware to your projects directory. All code is now self contained.
Uploading
- Launch the Arduino IDE
- Open the project
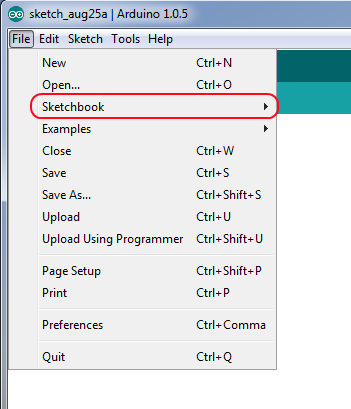
- File > Sketchbook > Projects > USB_Tester_OLED_xxxx
Plug the OLED Backpack into your computer (the USB Tester base does not need to be attached).
- If you’ve never had an Arduino Leonardo connected before and you are on Windows, you will need to follow the prompts to install the drivers. They are included with the Arduino IDE.
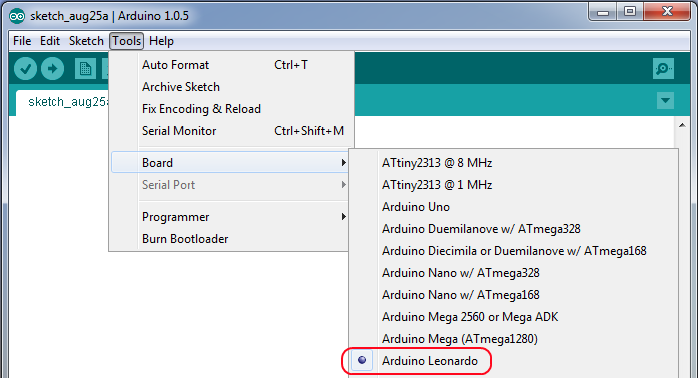
- Select the COM port and Board Type which is Arduino Leonardo.
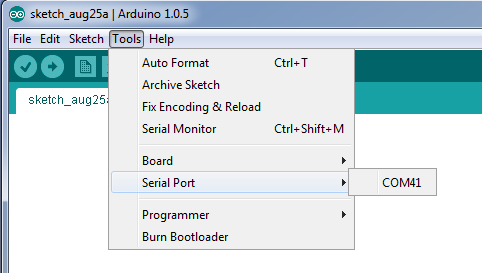
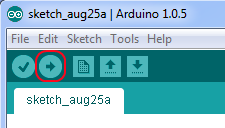
Click upload (2nd button on toolbar)!
Reset
If you have problems uploading you may have to manually reset microcontroller to start the bootloader.
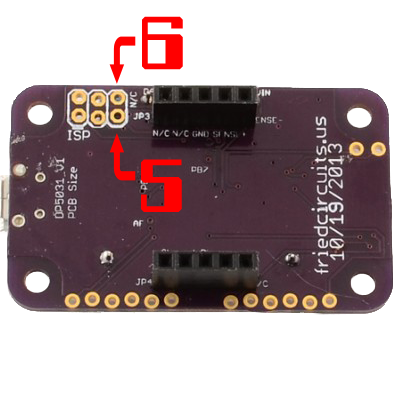
Since there isn’t a reset button there are two pins that need to be shorted for a second. Once shorted the bootloader will wait 7 seconds for an upload. The pins are part of the ICSP header located to the right of OLED. They should be accessed from the backside.
Short 5 and 6 for a second and that will reboot the device and load the bootloader. You will see the LED pulsate for awhile.

Comments 18
when i instaled the update the ide gave this error (Found programmer: Id = “BL$”; type =
Software Version = . ; Hardware Version = .
avrdude: error: buffered memory access not supported. Maybe it isn’t a butterfly/AVR109 but a AVR910 device? )
and the image on the display is squeezed in the top half of the display.
any help?
arnovbeek Hi, Are you clicking upload with programmer? Or just the regular upload? You don’t need a programmer since it has the Arduino bootloader installed already. If you still need help email support@friedcircuits.us.
Thanks.
arnovbeek Also make sure that it is connected directly to your computer and not with a USB hub. If still doesn’t work try another USB port.
MobileWill arnovbeek i followed the instructions on this page. i get the same problem on an other usb port end even an other computer.
arnovbeekThat is strange. Have you installed the Leonardo drivers? Its comes with the Arduino IDE. If you are in Windows check device manager and make sure the Leonardo is listed.
arnovbeek Do you have more than COM port listed when you select the COM port in the Arduino IDE?
MobileWill no only the “leonardo” is listed. code is loaded to the backpack but it does not work like it should. is the old firmware still available?
arnovbeek That is really strange. You can get any version from Github: https://github.com/FriedCircuits/FC-USB-Tester-OLED-Backpack/commits/master/USB_Tester_OLED
Try the old code and the redownload the current one and try it again. I have it working at home but I will try it from a downloaded copy and see what happens. Maybe I need to reupload it.
arnovbeek Really does seems like a driver issue. If you open the serial port in the Arduino IDE do you see the logging data?
arnovbeek I doubled checked the code visually on github and it looks good.
I googled your error from AVRDUDE and a few other people had the same issue. Mostly was driver issues. Hmm.
arnovbeekEmail me if you still didn’t get it worked out. I would like to figure out what is happening.
arnovbeek MobileWill I had the same issue, check that the COM port selected in the Arduino IDE is actually the COM port in device manager for the leonardo. For me, COM1 was “communications port” and Leonardo was COM14, switching these around instantly resolved the issue and let me program the device.
arnovbeek I found the problem with the squeezed image. There is a change to the library to set the size of the display. I updated the guide to reflect the change.
arnovbeek I have found you may need to manually update. I updated the guide on how to do that. Let me know if that works.
MobileWill it
works now, I re flashed the backpack with the Leonardo bootloader and I had no
further problems of uploading code to the backpack.
arnovbeek Great. Did you get the latest version? Pushed some changes recently.
MobileWill yes. i downloaded the latest version
arnovbeek Cool, let me know what you think. Last thing to update is the serial interface to the Java app with the new data.