
-
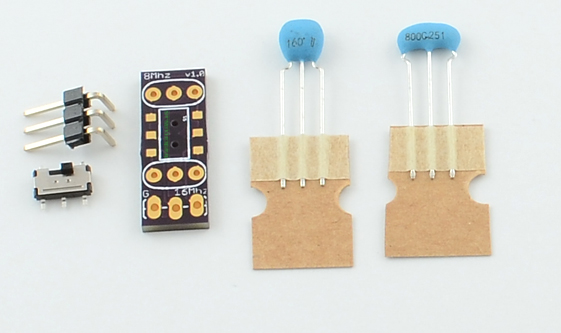
Current Version 1.0


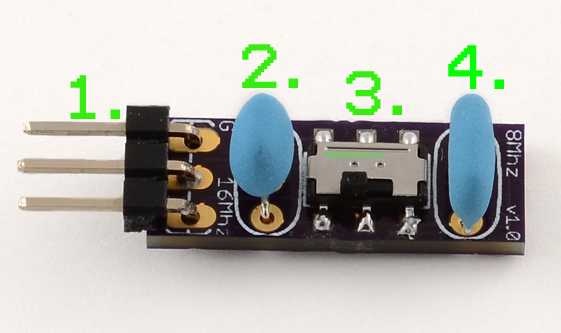
- Male Header (G, XTAL1, XTAL2)
- 16Mhz Resonator
- Switch
- 8Mhz Resonator
The Dual Resonator is pretty simple to use. Pin 1 is G and is marked with a G. The other two are the crystalresonators pins. Most if now all AVR microcontrollers have ground next to the two crystal pins. So you should be able to just plug it in. If this isn’t the case you can use jumpers on the breadboard to connect to the correct pins. Here is an example with a ATmega328p.
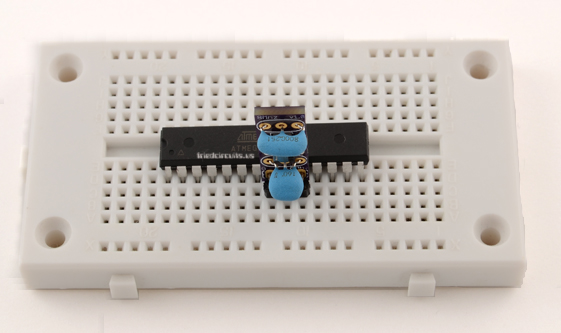
It is probably best to set the speed while the microcontroller is powered down. As a test you can load the blink sketch and connect a LED and resistor to pin 13. If you change the speed without changing the board settings in the Arduino IDE the LED blink speed will change.